Materials18 min readAuthorMass Loaded Vinyl DirectPublishedUpdated

    15 Best Cheap Soundproofing Materials 2026 (That Actually Work)

    Various budget soundproofing materials including mass loaded vinyl roll, weatherstripping tape, acoustic caulk, and fiberglass insulation arranged on a workshop bench
    Various budget soundproofing materials including mass loaded vinyl roll, weatherstripping tape, acoustic caulk, and fiberglass insulation arranged on a workshop bench

    1The Core Principles of Budget Soundproofing

    Before diving into the specific products, you must understand the two main categories of acoustic treatment. Focusing on the wrong category drains your budget quickly.
    Soundproofing materials block noise from entering or leaving spaces. Sound absorption products reduce echo within the room itself. Density and mass stop low-frequency sounds effectively. Air gaps prevent vibrations from transferring between solid objects. Mastering these concepts ensures every dollar spent directly improves your room isolation.
    The four fundamental principles of soundproofing are Mass, Damping, Decoupling, and Absorption. Mass adds weight to block sound waves. Damping converts vibrational energy into heat. Decoupling physically separates structures to interrupt vibration transfer. Absorption captures sound energy within porous materials. Every effective budget project leverages at least two of these principles simultaneously.
    Understanding the difference between airborne noise and structure-borne noise is equally critical. Airborne noise includes voices, music, and traffic sounds that travel through the air and vibrate walls. Structure-borne noise includes footsteps, plumbing vibrations, and equipment hum that travel through the physical building frame. Budget materials must address both pathways to deliver meaningful results.

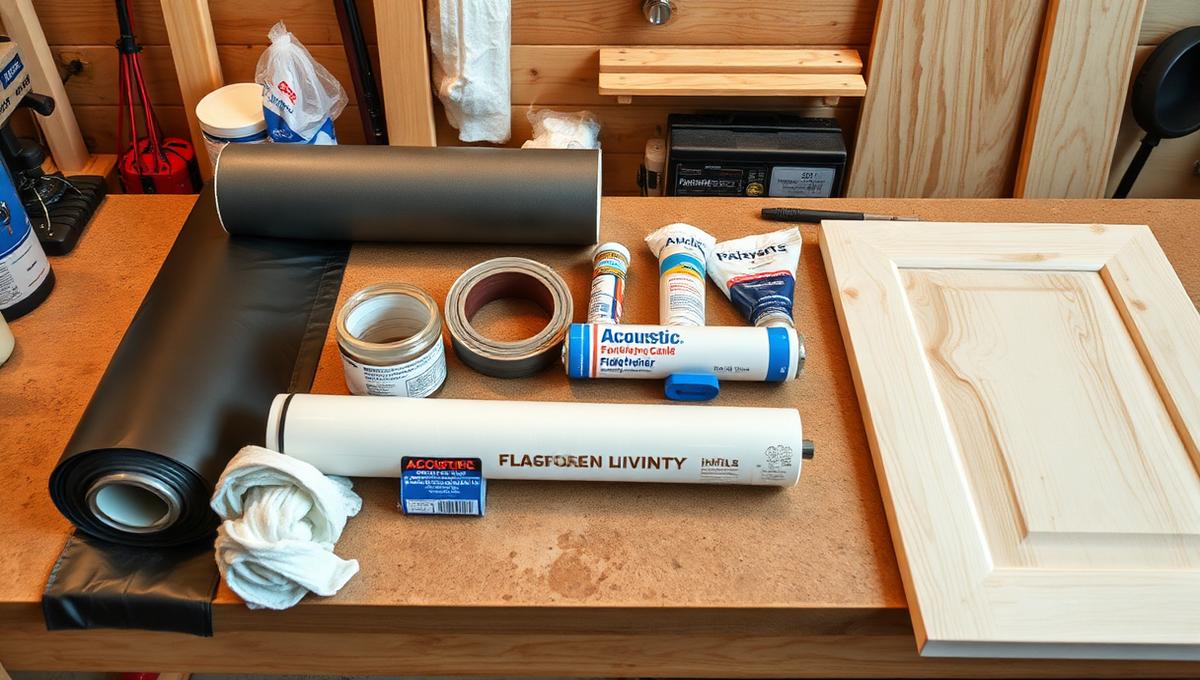
    2Top Materials for Blocking Sound Transmission

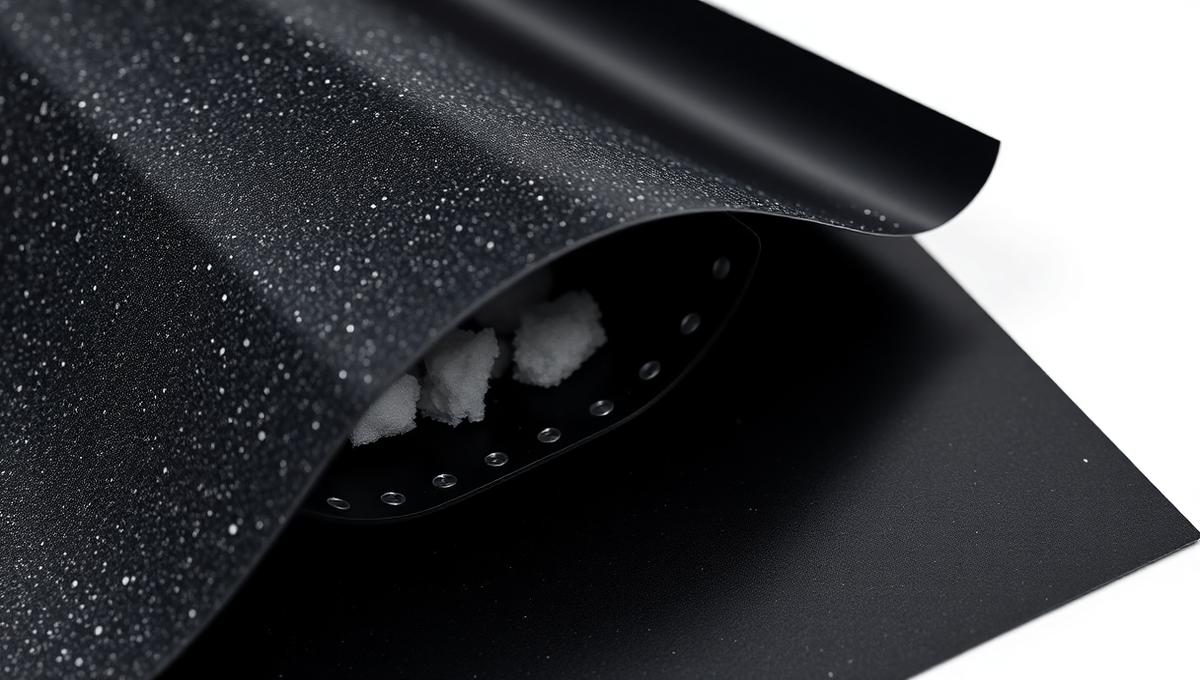
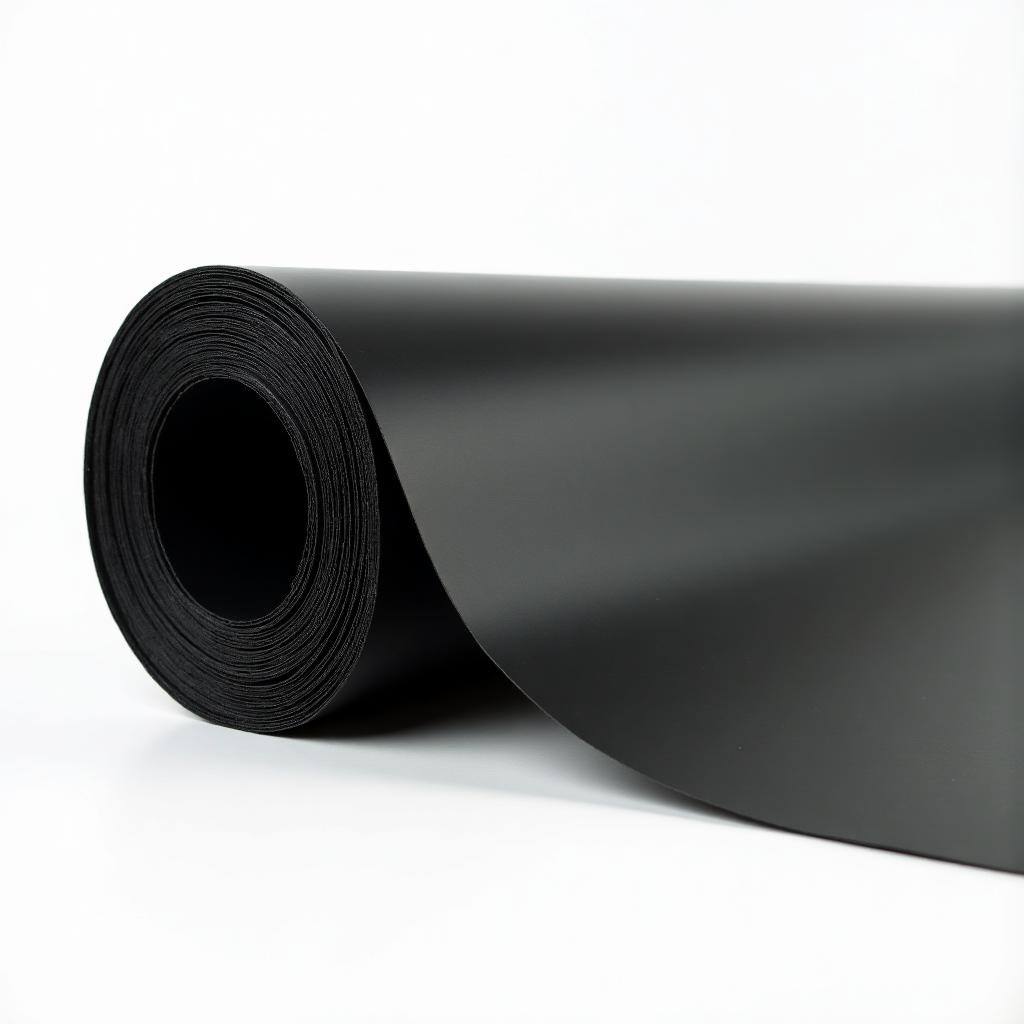
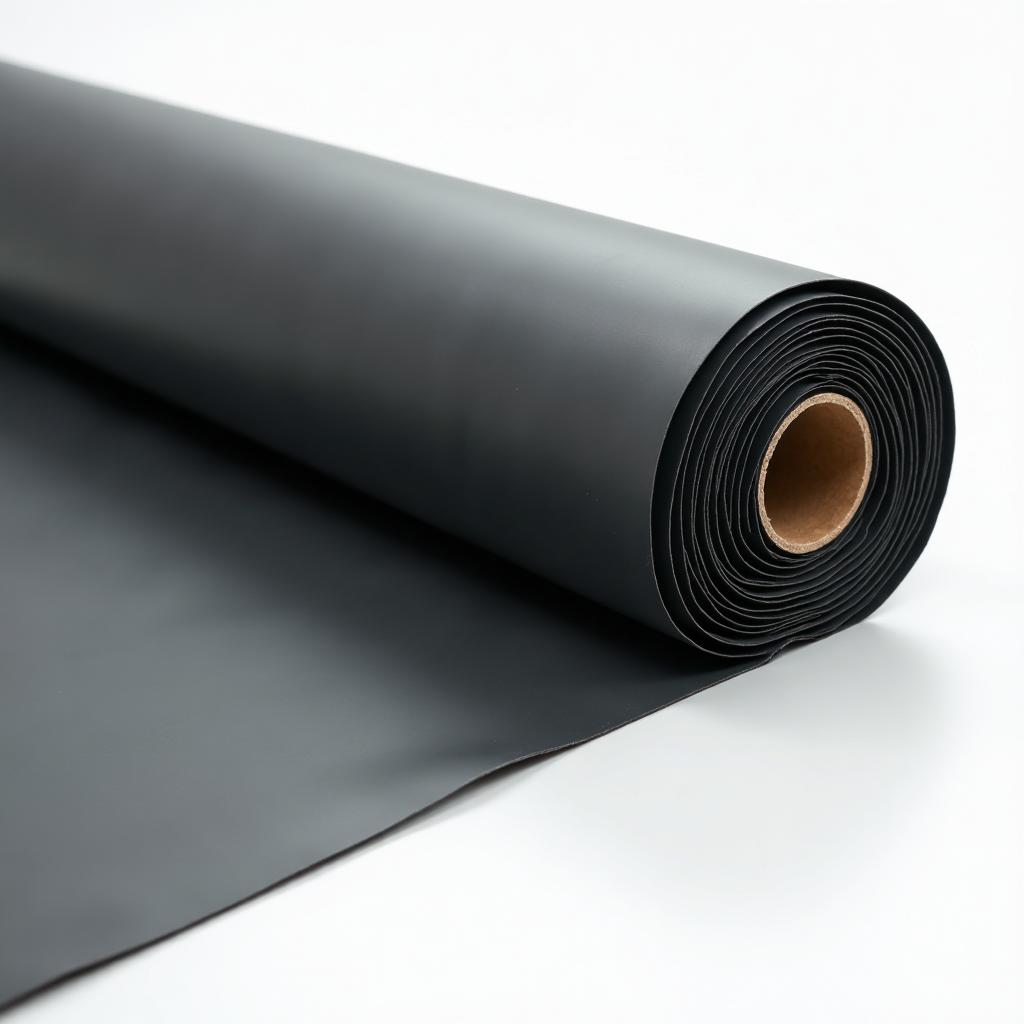
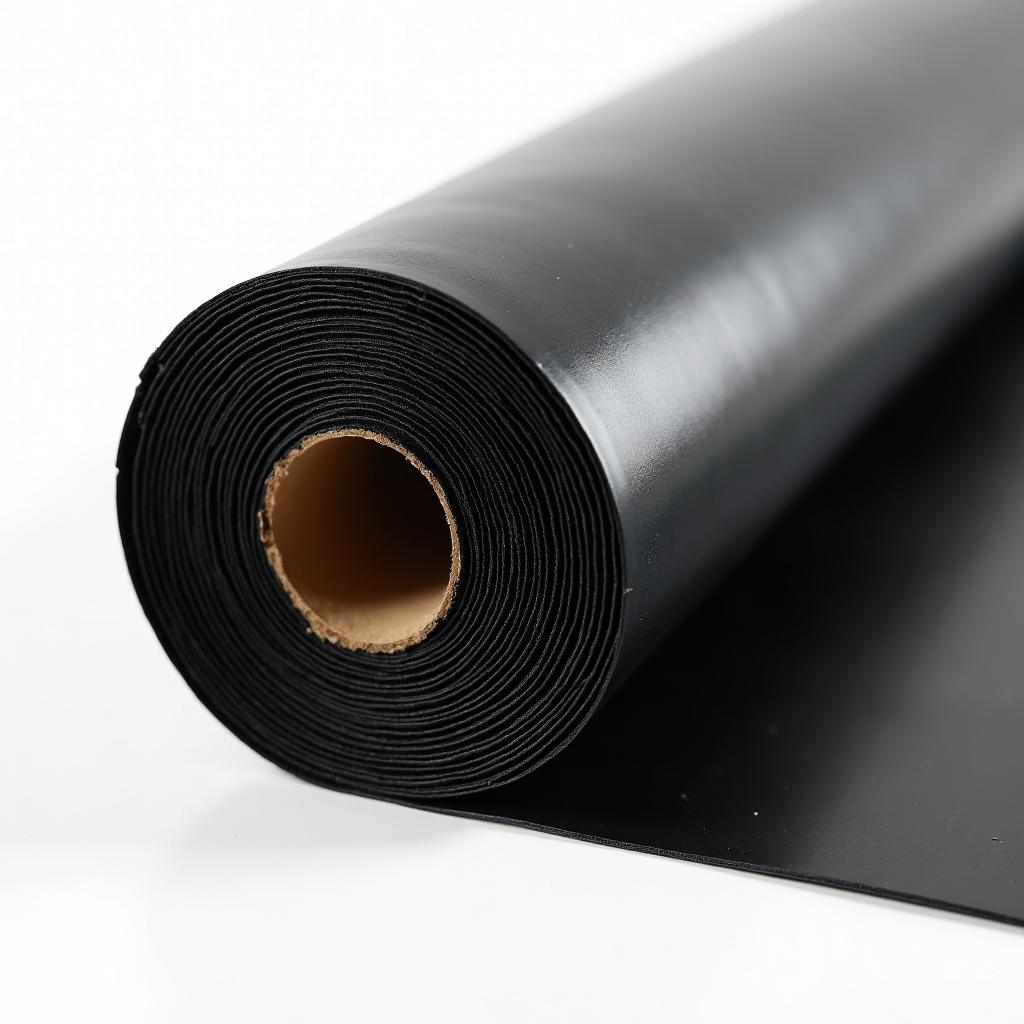
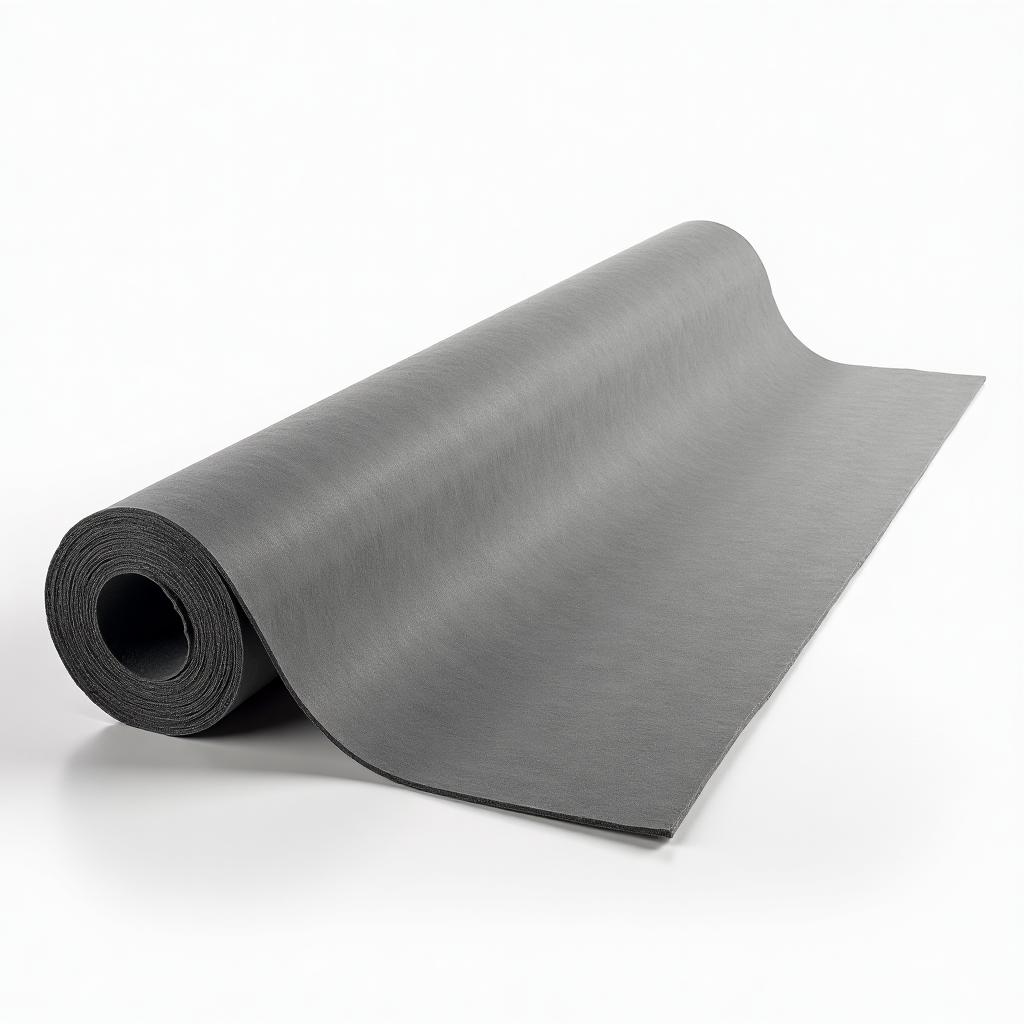
    1. Mass Loaded Vinyl (MLV)

    Mass Loaded Vinyl is the undisputed king of budget-friendly sound blocking. MLV is heavy, flexible, and engineered specifically to stop sound waves dead in their tracks. You can install it directly onto wall studs, floor joists, or ceilings. It adds significant mass to any structure without taking up valuable square footage.
    Installing MLV behind standard drywall is the absolute most effective way to block airborne noise on a strict budget. The material costs slightly more than basic foam but delivers exponentially better results for blocking traffic, loud music, and voices. Contractors and DIY enthusiasts praise MLV because it requires no specialized tools for installation. Simply cut the heavy vinyl with utility knives and nail or staple it directly to your wooden framing before hanging your final layer of sheetrock. This dense barrier transforms flimsy residential walls into professional-grade acoustic shields.
    A single layer of 1 lb/sf MLV adds an STC rating of approximately 26-27 to any wall assembly. When combined with standard insulation and properly sealed seams, that number climbs significantly. The cost typically ranges from $1.50 to $2.50 per square foot, making it one of the most cost-effective noise barriers available to homeowners and contractors alike.

    2. Weatherstripping Tape

    Sound travels rapidly through the path of least resistance. Gaps around your doors and windows let in massive amounts of unwanted noise. Weatherstripping tape is an incredibly cheap and fast solution to seal these critical perimeters. Peel-and-stick high-density foam tape creates an airtight seal that significantly reduces high-frequency street noise.
    Applying this tape takes only minutes and requires zero tools. You will notice immediate improvements in both room acoustics and thermal insulation. Be sure to clean the door jamb thoroughly with rubbing alcohol before applying the adhesive backing. Proper surface preparation ensures the weatherstripping remains firmly attached for years, blocking outside disturbances effectively. Combining this simple tape with heavier materials maximizes your overall acoustic strategy.

    3. Heavy-Duty Door Draft Stoppers

    The gap at the bottom of your bedroom or studio door is usually a major weak point in any acoustic setup. Installing thick door draft stoppers blocks out hallway conversations, television noise, and kitchen clatter. Solid silicone sweeps or heavy fabric draft blockers are inexpensive and take seconds to install.
    Screwing permanent rubber sweeps to the bottom of solid doors creates even stronger acoustic seals. Many hardware stores sell automatic door bottoms that drop a heavy neoprene seal onto the threshold the moment the door clicks shut. These advanced sweeps cost slightly more but provide professional-grade sound isolation for home offices and recording spaces. Sealing this bottom gap is mandatory before investing in expensive wall treatments.

    4. Specialized Acoustic Caulk

    Standard painters caulk hardens over time, eventually shrinking and cracking. These microscopic cracks allow sound waves to leak right through your walls. Acoustic sealant remains rubbery and flexible for years, moving with the natural settling of your home. You can use it to perfectly seal gaps around window frames, baseboards, and electrical outlets where noise typically escapes.
    Buying several tubes of acoustic caulk is one of the highest-ROI investments you can make for room isolation. Applying thick beads of this specialized sealant ensures your heavy physical barriers perform at their absolute peak potential. It completely stops flanking noise from undermining your soundproofing efforts.

    5. Acoustic Putty Pads

    Electrical boxes create giant holes directly into your soundproof walls. Wrapping the back of these plastic or metal boxes in acoustic putty pads seals the gaps entirely. This prevents noise from flanking through the hollow wall cavities and entering the adjacent room. Putty pads are incredibly cheap and take only moments to mold around the fixtures before you hang the drywall. Ignoring these electrical cutouts will ruin the STC rating of an otherwise perfectly constructed wall. Moldable putty maintains the fire rating of your electrical boxes while completely blocking airborne sound transmission.

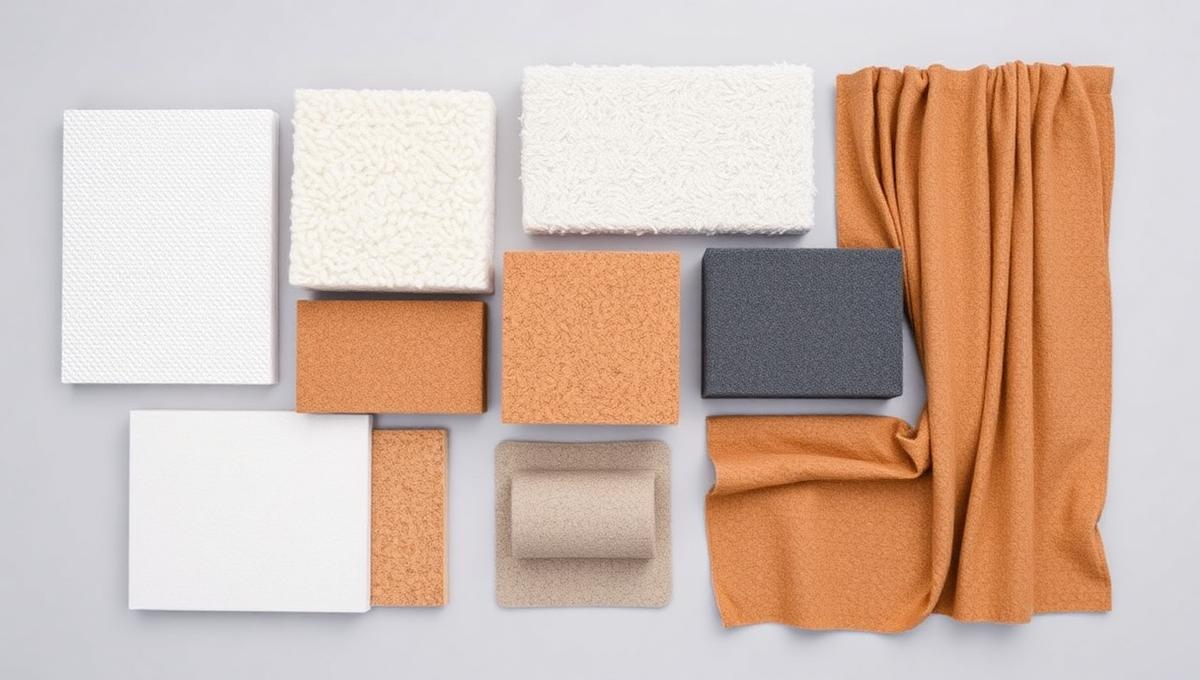
    3Affordable Materials for Sound Absorption

    6. Polyurethane Foam Panels

    Foam panels are excellent for managing interior acoustics and reducing flutter echo. They will not block heavy traffic noise, but they do absorb mid to high-frequency reflections perfectly. Strategically placing these panels in home offices, podcast studios, or home theaters cleans up audio quality dramatically.
    Polyurethane foam is lightweight and mounts easily to walls using double-sided tape or command strips. Buying these panels in bulk packs online keeps the cost per square foot incredibly low. Upgrading to thicker wedge designs provides slightly better absorption for lower vocal frequencies.

    7. Dense Carpets and Rug Padding

    Hardwood, concrete, and tile floors bounce sound waves endlessly around rooms. Throwing down thick, dense rugs absorbs impact noise like footsteps, dropped items, and scraping chairs. Adding specialized high-density rubber rug padding underneath doubles the acoustic effectiveness.
    Covering hard surfaces reduces the overall reverberation time, making the room feel noticeably quieter and more intimate. This approach requires zero construction and instantly improves the acoustic comfort of any residential living space.

    8. Acoustic Sound Curtains

    Standard window blinds do absolutely nothing to stop street noise. Heavy, multi-layered acoustic curtains add much-needed mass right over your glass windows. These thick drapes are engineered with dense cores to dampen street traffic and neighborhood noise effectively.
    Hanging them wide and high over the window frame ensures maximum coverage and prevents sound from leaking around the edges. Blackout curtains often double as sound dampeners due to their heavy woven fabrics. Investing in premium acoustic drapes is much cheaper than replacing single-pane windows with double-glazed acoustic glass.

    9. Industrial Moving Blankets

    Industrial sound-dampening blankets contain dense fiberglass and heavy vinyl layers. Hanging these over windows, doorways, or unfinished basement walls provides temporary but powerful noise reduction. Producers and musicians frequently use heavy moving blankets to build impromptu vocal booths on tight budgets.
    Grommeted blankets easily hang from hooks or curtain rods for rapid deployment. While they are not permanent architectural solutions, their immense weight makes them far superior to standard household blankets for absorbing rogue sound waves.

    4Structural Upgrades on a Budget

    10. Solid Core Wooden Doors

    Most interior residential doors are completely hollow and transfer sound effortlessly. Replacing hollow bedroom doors with solid core wood doors adds crucial mass to the entryway. This single upgrade makes a monumental difference in room-to-room privacy. Finding solid core doors at local salvage yards or surplus hardware stores keeps this project well within strict budgets. Combining a solid core door with high-quality weatherstripping and a heavy draft stopper creates a formidable acoustic barrier.

    11. Metal Resilient Channels

    Vibration is the ultimate enemy of structural soundproofing. Resilient channels are cheap metal strips screwed horizontally directly across your bare wall studs. You attach the drywall to these metal channels instead of the wooden studs. This process decouples the wall surface, preventing sound vibrations from traveling straight through the building's skeletal frame. Installing these channels during a renovation is incredibly cheap but yields massive improvements in low-frequency isolation. It forces the sound energy to dissipate before reaching the interior drywall.

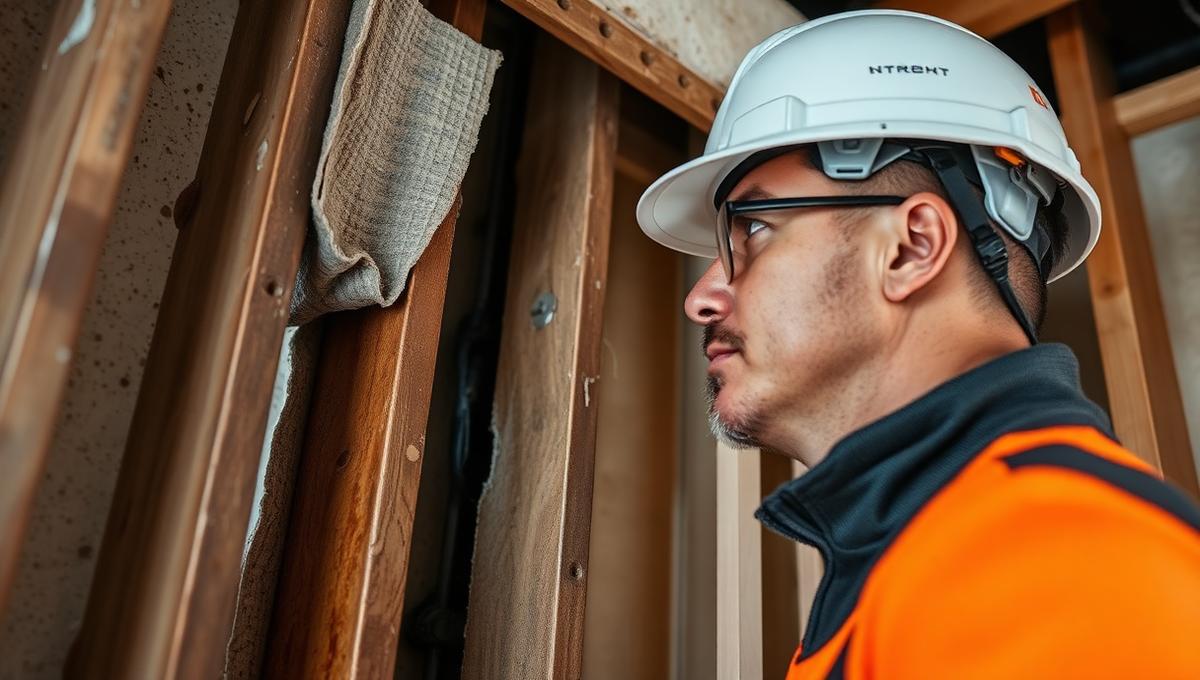
    12. Standard Fiberglass Insulation

    Packing the empty cavities between your wall studs with standard fiberglass roll insulation is highly cost-effective for reducing noise transfer. The dense fibers trap sound waves and drastically reduce resonance inside the hollow wall space. While specialized mineral wool performs slightly better, standard pink fiberglass is much cheaper and still provides excellent acoustic dampening. Leaving wall cavities completely empty creates an echo chamber that amplifies noise. Simply filling that void with budget-friendly fiberglass stops the drum effect entirely.

    13. Premium Floor Underlayment

    If you are installing new laminate or engineered floors, adding acoustic underlayment is absolutely essential. This thin, dense foam or rubber layer goes between the wooden subfloor and the top flooring material. It drastically cuts down on impact noise transmitting to the rooms directly below. Skipping this step during renovation is a massive missed opportunity for cheap sound control. High-quality underlayment is inexpensive per square foot and guarantees your downstairs neighbors will not hear every footstep.

    14. Double Layered Drywall

    Adding another layer of standard 5/8-inch drywall right over your existing wall is highly effective for increasing mass. Staggering the seams between the two drywall layers prevents sound from slipping through any microscopic cracks. Using Green Glue or similar damping compounds between the two layers maximizes the soundproofing potential by converting acoustic vibrations into trace amounts of heat. Drywall is one of the cheapest building materials available, making this a highly economical way to build massive, impenetrable walls.

    15. Strategic Furniture Placement

    Pushing massive, heavy bookshelves against shared apartment walls creates natural sound barriers for free. Filling the shelves entirely with thick books adds tremendous density and mass. This method uses items you already own to disrupt sound waves before they fully enter your living space. Arranging heavy sofas and dense upholstered furniture along problematic walls also helps absorb and block incoming frequencies. Utilizing your existing heavy furniture is the ultimate zero-cost soundproofing hack.

    5Decoupling vs. Adding Mass

    Building a quiet room requires balancing decoupling techniques with mass addition. Decoupling involves physically separating two sides of a structure to stop vibrations from passing through. Using resilient channels or staggered stud walls perfectly exemplifies decoupling. Adding mass involves installing heavy materials like Mass Loaded Vinyl or double drywall to literally block the acoustic energy.
    The most successful budget projects utilize both methods simultaneously. You must force the sound wave to work incredibly hard to vibrate the heavy mass, and then break its physical path with a decoupled air gap. Combining these two scientific principles yields professional-grade isolation without requiring a massive budget.
    ApproachHow It WorksBest Budget MaterialsTypical STC Improvement
    Adding MassBlocks sound with heavy, dense barriersMLV, Double Drywall, Solid Core Doors+5 to +15 STC
    DecouplingSeparates wall surfaces to stop vibration transferResilient Channels, Staggered Studs+8 to +12 STC
    DampingConverts vibration energy into trace heatGreen Glue, Acoustic Caulk+3 to +8 STC
    AbsorptionTraps sound energy within porous materialFiberglass Insulation, Mineral Wool+3 to +6 STC

    6Understanding STC Ratings for Cheap Soundproofing

    Sound Transmission Class (STC) is the industry standard rating system used to measure how well building partitions attenuate airborne sound. Understanding this metric is vital when shopping for budget materials. The higher the STC rating, the better the material is at blocking noise.
    Standard uninsulated interior walls generally have an STC rating around 33, meaning loud speech can be heard and understood clearly through the drywall. Upgrading that wall with high-quality Mass Loaded Vinyl and acoustic caulk can push the STC rating into the 50s. At an STC of 50, loud sounds are faintly heard but completely unintelligible, providing genuine privacy.
    STC RatingWhat You Can HearTypical Assembly
    25-30Normal speech clearly understoodSingle drywall, no insulation
    35-40Loud speech audible but muffledInsulated wall, standard construction
    45-50Loud sounds faintly heard, not intelligibleMLV + insulation + sealed seams
    55+Most sounds inaudibleMLV + resilient channels + double drywall + Green Glue
    When evaluating cheap materials, always look for verifiable STC test data rather than marketing buzzwords. Products lacking STC ratings are usually designed for acoustic treatment rather than genuine soundproofing.

    7Real Cost Breakdown: MLV vs. Alternative Methods

    Evaluating budget materials requires looking at the actual cost per square foot alongside the proven STC ratings. Mass Loaded Vinyl typically costs between $1.50 and $2.50 per square foot. This price point delivers heavy, professional-grade isolation.
    Standard acoustic foam panels cost roughly $1.00 to $2.00 per square foot but offer zero sound blocking capabilities. Double-layering drywall costs about $0.50 per square foot for the material alone, but requires extensive labor, mudding, taping, and painting.
    MaterialCost/sq ftSTC ContributionBlocks Sound?DIY Difficulty
    Mass Loaded Vinyl$1.50–$2.50STC 26-27✅ YesEasy
    Acoustic Foam$1.00–$2.00STC 0❌ NoEasy
    Extra Drywall Layer$0.50STC 3-5✅ PartialModerate
    Weatherstripping$0.10–$0.30Seals gaps✅ Yes (gaps)Very Easy
    Acoustic Caulk$0.15–$0.25Seals gaps✅ Yes (gaps)Very Easy
    Resilient Channels$0.75–$1.25STC 8-12✅ YesModerate
    When you factor in the sheer density and ease of installation, MLV remains the most cost-effective solution for genuinely stopping noise transmission. Relying on cheaper alternatives like egg crate foam ultimately wastes your budget because it fails to address the root problem of sound traveling through the wall structure.

    8Case Study: Budget Soundproofing Success

    We recently analyzed a project where severe street noise was ruining a ground-floor home office. The property owner initially planned to spend thousands replacing the exterior windows. We documented a strict budget approach focusing on mass and air seals.
    Heavy Mass Loaded Vinyl was installed directly over the existing drywall, covered with a fresh layer of 5/8-inch drywall, and the window frames were sealed with flexible acoustic caulk. The perimeter was finished with high-density weatherstripping tape.
    This entire project cost less than $600 in materials. The ambient room noise dropped by an impressive 18 decibels, transforming the space into a perfectly quiet work environment without requiring expensive structural demolition.
    The key takeaway from this case study is that combining multiple budget materials—MLV for mass, caulk for sealing, and weatherstripping for gap closure—delivers far better results than spending the same budget on a single premium solution. Layered approaches consistently outperform single-material strategies.

    9Common Soundproofing Myths You Must Ignore

    The Problem with Egg Crate Foam

    People constantly staple cardboard egg cartons or old foam mattresses to their walls expecting miracles. These materials lack the necessary density to block sound waves. They might slightly reduce high-frequency reflections inside the room, but they will never stop noise from traveling through the drywall. Relying on trash or thin foam is the fastest way to waste your time.

    Regular Paint Acting as Sound Barriers

    Some companies market specialized soundproof paint to unsuspecting buyers. Paint is incredibly thin and provides absolutely zero measurable mass to your walls. Coating your room in expensive paint will not stop the low-frequency rumble of traffic or heavy footsteps. Your money is always better spent on dense, physical barriers.

    Hanging Regular Blankets on Walls

    Standard household blankets and tapestries add minimal mass to a wall. While they may reduce some high-frequency flutter echo within a room, they provide essentially zero sound blocking capability. For meaningful noise reduction, you need purpose-built industrial sound blankets with mass-loaded cores, or better yet, permanent solutions like MLV installed behind drywall.

    10Next Steps for Your Soundproofing Project

    Upgrading your home acoustics does not require a massive commercial construction budget. Focus tightly on sealing air leaks and adding dense materials to your most vulnerable walls. Start by identifying the main source of the noise, then choose the exact right material to block or absorb those specific sound waves.
    For maximum impact on a budget, follow this priority order: 1) Seal all air gaps with acoustic caulk and weatherstripping. 2) Add mass with MLV behind drywall on the most problematic wall. 3) Upgrade hollow doors to solid core. 4) Add absorption materials for interior echo control.
    If you are ready to tackle your next project with professional-grade materials, explore the heavy-duty sound barriers available at Mass Loaded Vinyl Direct to secure the best results for your space.

    11Conclusion

    Budget soundproofing is not about finding the cheapest product on the shelf. It is about understanding the physics of sound transmission and strategically investing in materials that address the root cause of your noise problem. Mass Loaded Vinyl remains the single most effective budget material for blocking airborne sound, while weatherstripping, acoustic caulk, and resilient channels round out a comprehensive approach that delivers professional results without professional pricing.

    FAQs: Best Soundproofing Materials on a Budget

    Need Expert Soundproofing Advice?

    Our team of soundproofing specialists is here to help you choose the right products and installation methods for your museum or gallery project.