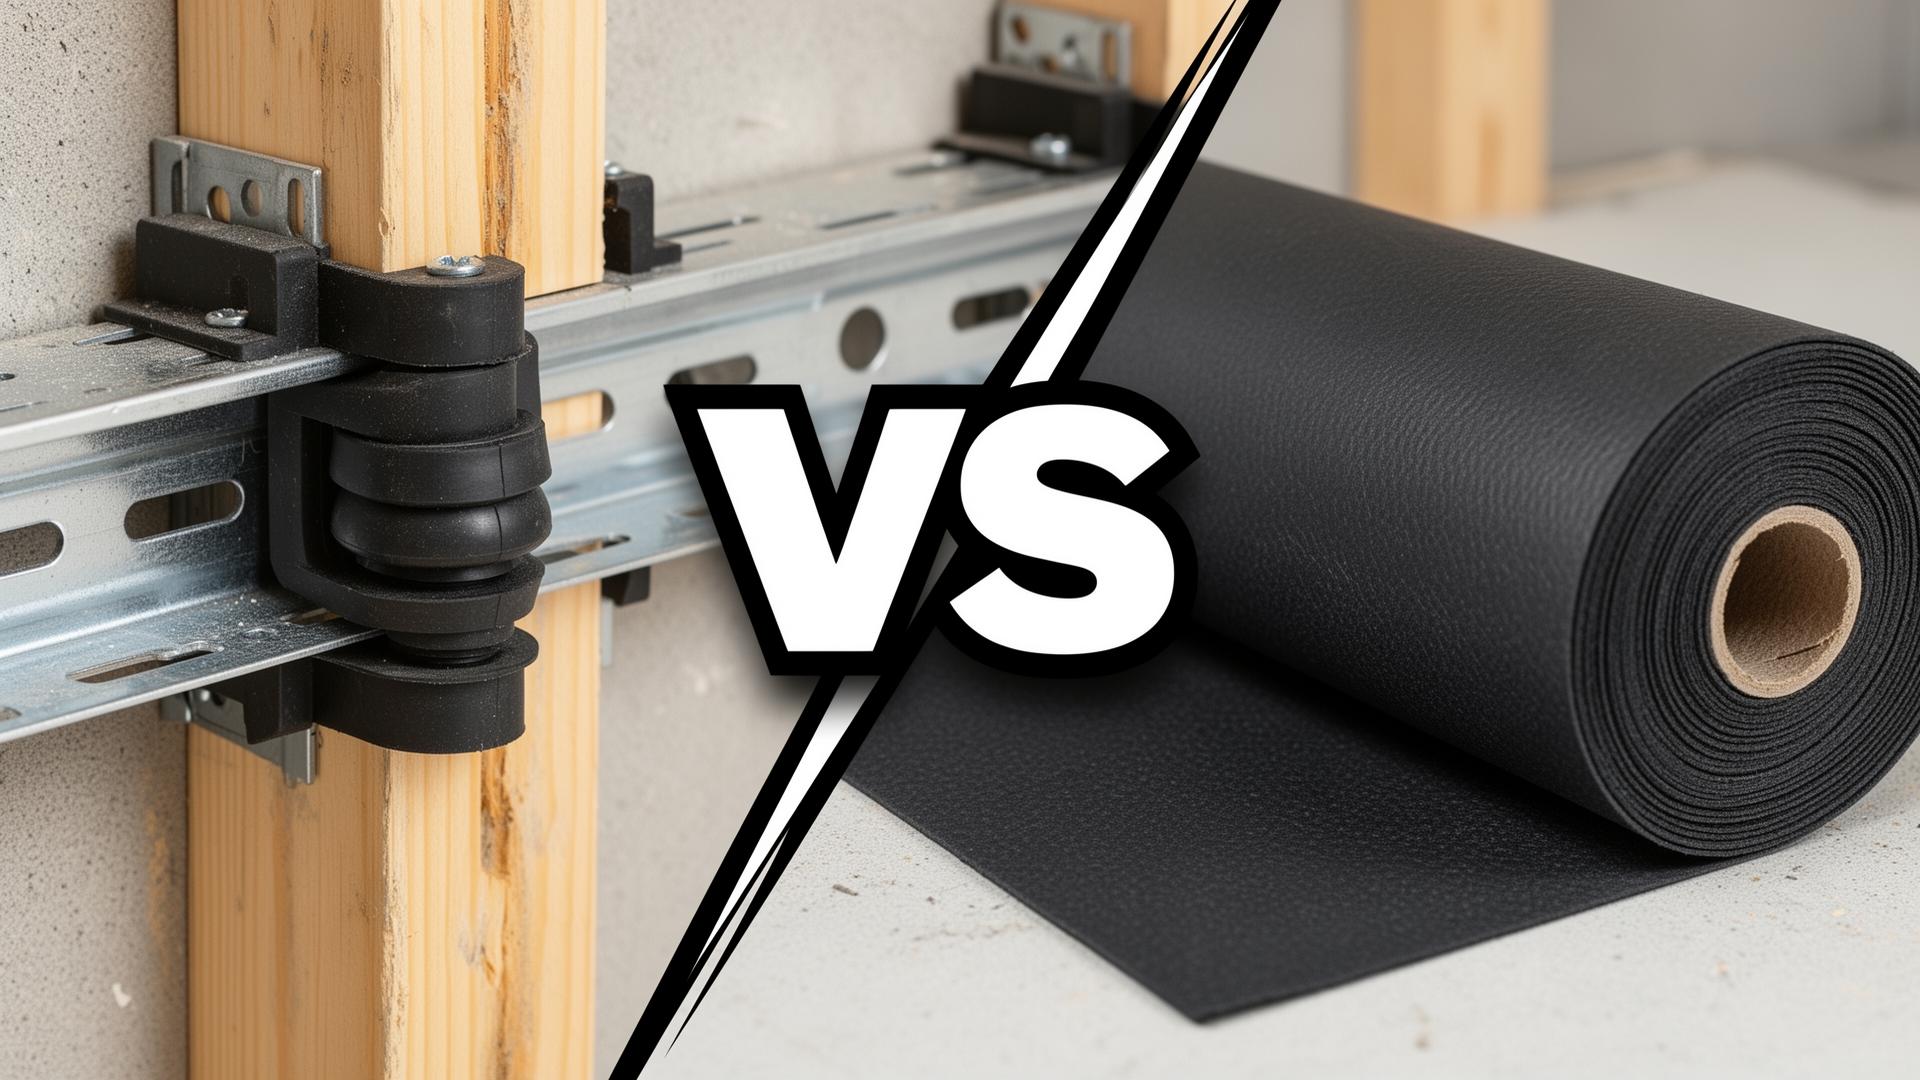
Sound Isolation Clips vs MLV: The Premium Decoupling Duel
1Two Elite Approaches to Soundproofing
The Decoupling Strategy (Sound Isolation Clips)
• RSIC-1: The original rubber isolation clip, industry standard
• Whisper Clips: Similar design with proprietary rubber compound
• GenieClip: Budget-friendly alternative with good performance
• IsoMax: Premium clips for ceiling applications
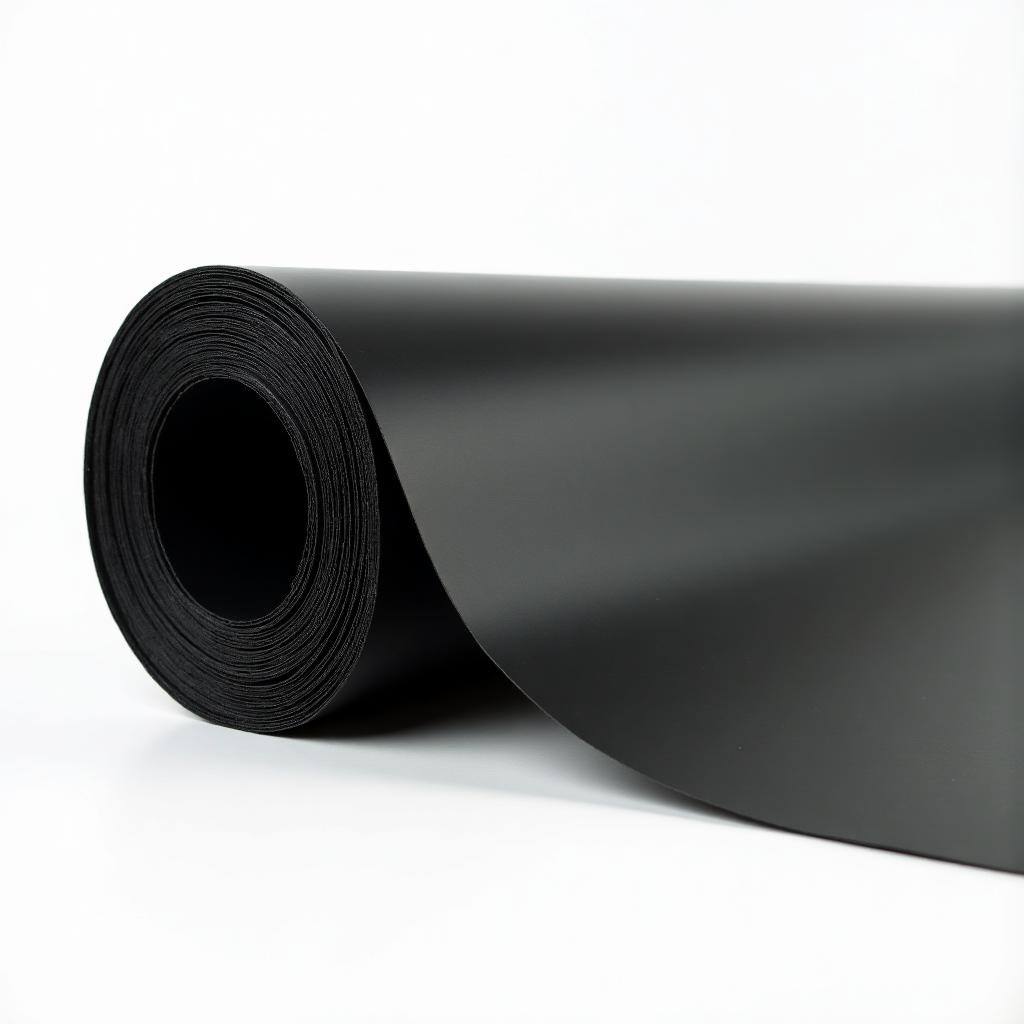
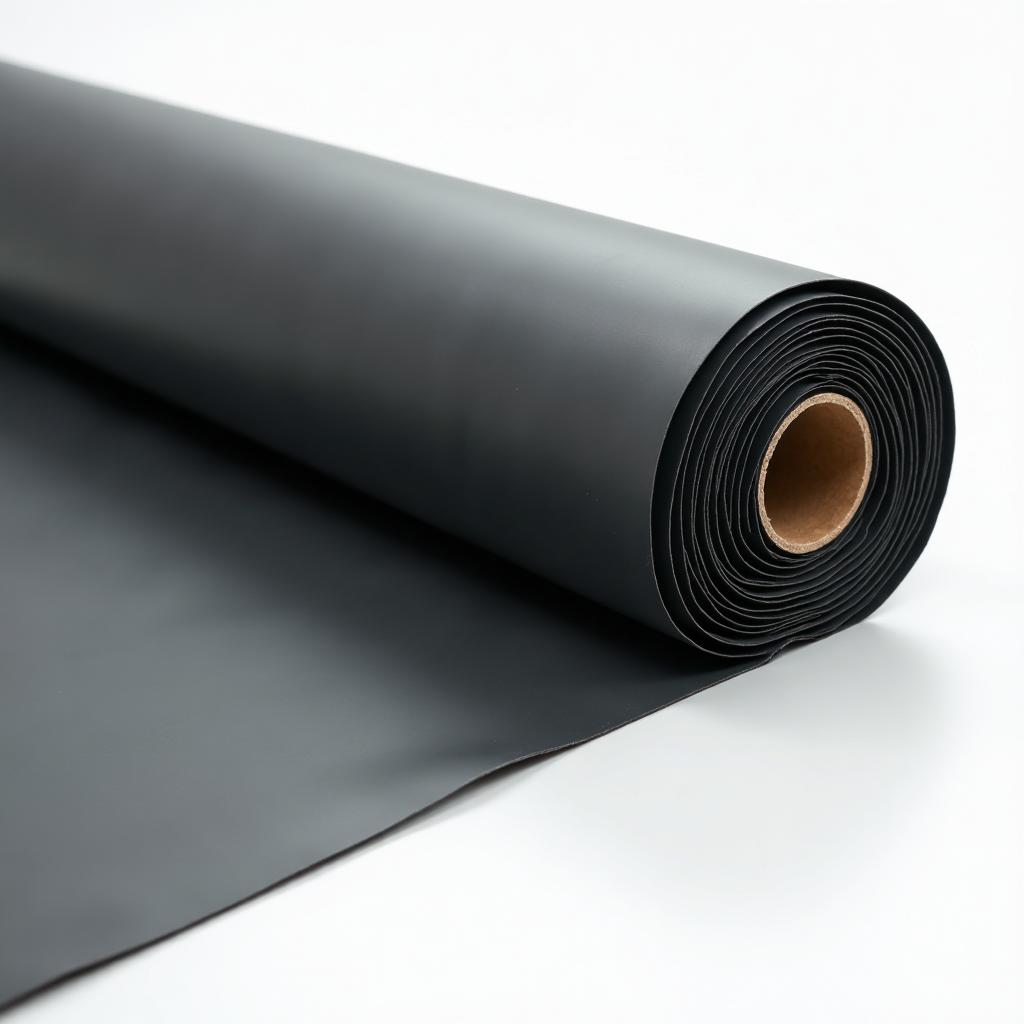
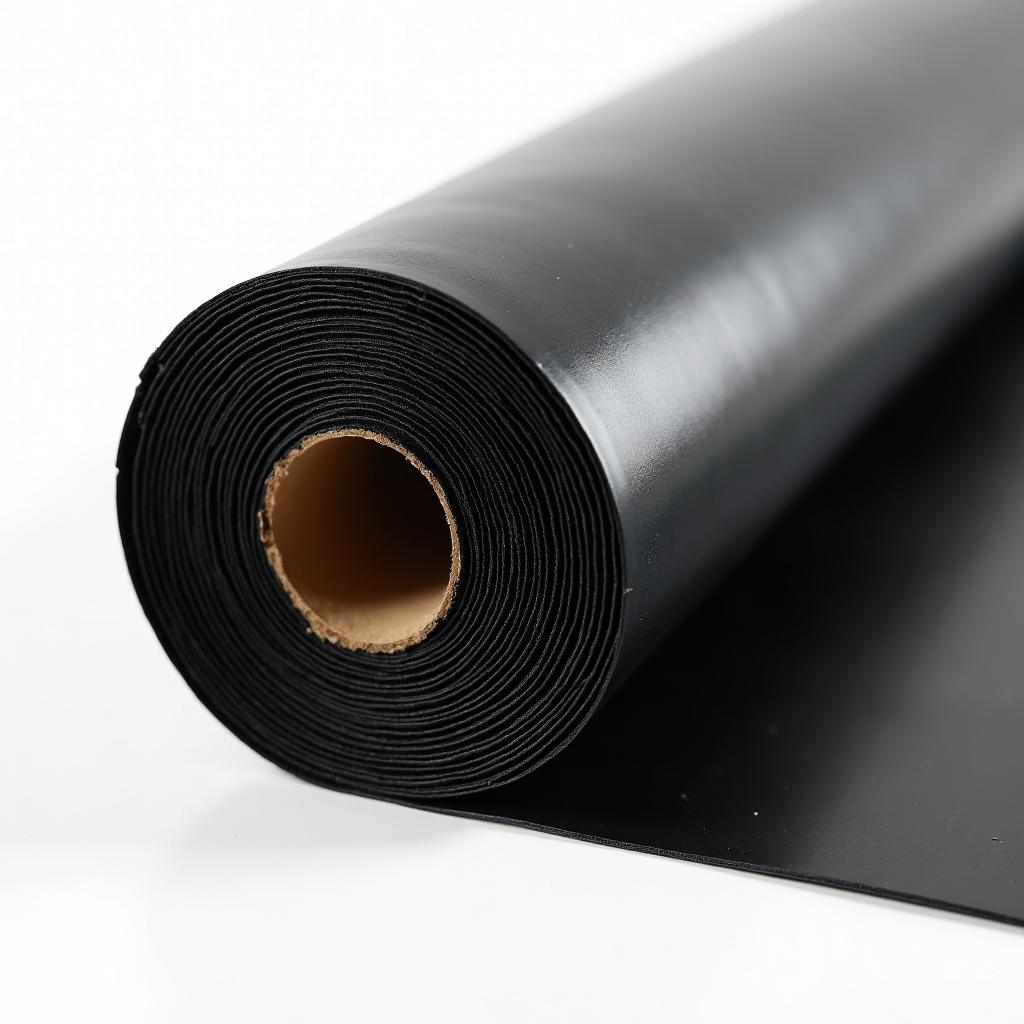
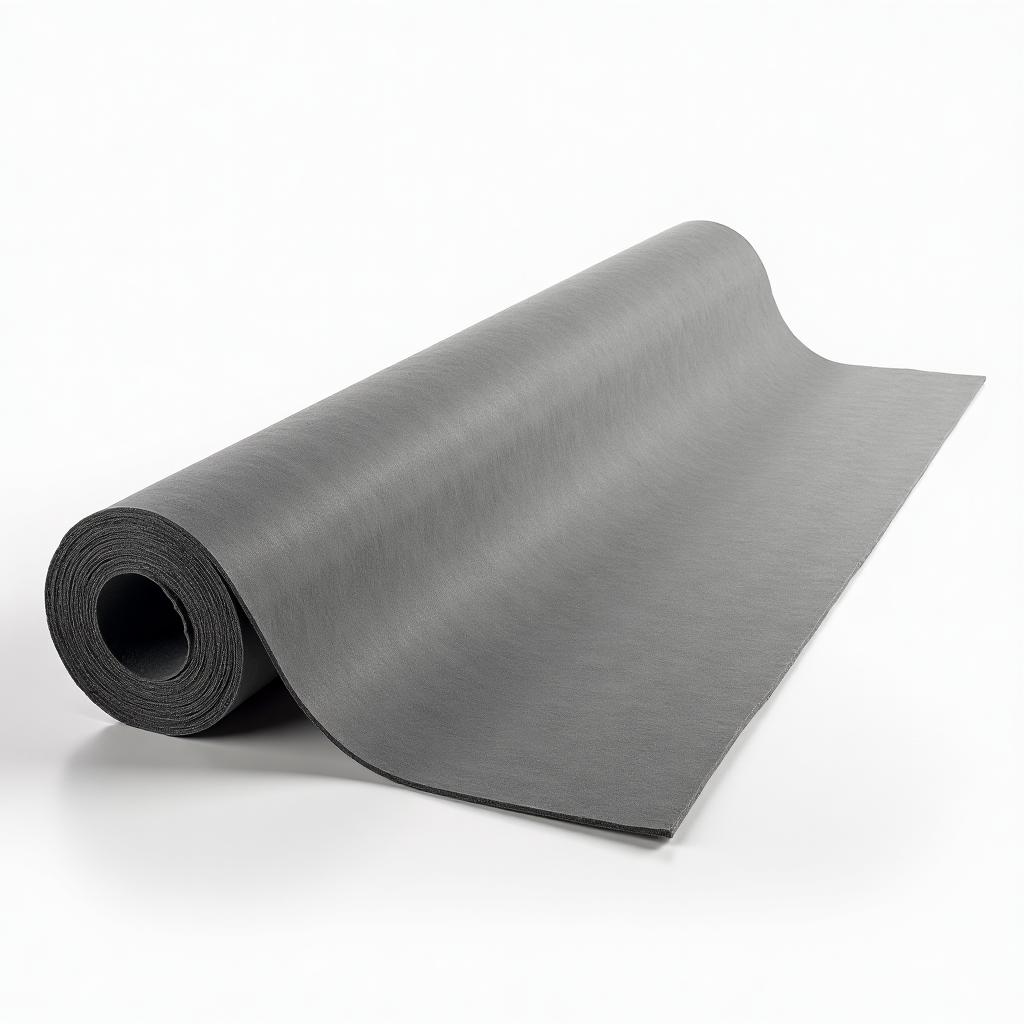
The Mass Loading Strategy (MLV)
Why Both Work
2How Each System Works
Sound Isolation Clip Mechanics
2. Rubber/neoprene isolator: The key component—absorbs and dissipates vibration
3. Hat channel receiver: Holds the metal furring channel that supports drywall
• Drywall → Drywall screws → Hat channel → Rubber isolator → Metal plate → Stud
The rubber isolator acts as a shock absorber, converting vibration energy to heat and dramatically reducing transmission to the structure.
• STC improvement: +8-15 points over direct attachment
• Frequency response: Excellent mid and high frequency isolation; good low frequency
• Failure mode: "Short circuits" from improper installation eliminate benefit
• Space requirement: Adds 1-1.5" to wall thickness (clip + channel + drywall)
Mass Loaded Vinyl Mechanics
2. Mineral loading: Barium sulfate or calcium silicate increases density
3. Limp mass behavior: Unlike rigid materials, MLV doesn't resonate
• The mass resists movement—heavy objects are hard to vibrate
• Flexibility prevents rigid resonance that would re-radiate sound
• Low frequencies that pass through lightweight materials are blocked
• The barrier works regardless of what's behind it
• STC improvement: +15-17 points when added to wall assemblies
• Frequency response: Excellent across full spectrum, especially low frequencies
• Failure mode: Gaps and unsealed penetrations bypass the barrier
• Space requirement: Only 1/8"-1/4" thickness added
3Performance Comparison
| Wall Assembly | Baseline | With Clips | With 1 lb MLV | Both Combined |
|---|---|---|---|---|
| Single wood stud, 5/8" drywall | STC 35 | STC 47-50 | STC 50-52 | STC 58-63 |
| Metal stud, 5/8" drywall | STC 40 | STC 52-55 | STC 55-57 | STC 62-67 |
| Double drywall each side | STC 43 | STC 55-58 | STC 55-58 | STC 63-68 |
| With mineral wool cavity | STC 39 | STC 54-57 | STC 54-57 | STC 62-66 |
• Both clips and MLV provide similar STC improvements (12-17 points)
• Clips slightly outperform MLV for mid/high frequencies
• MLV slightly outperforms clips for low frequencies (bass, traffic rumble)
• Combining both adds 23-28 STC points—benefits stack significantly
Low-Frequency Comparison
• Sound isolation clips: Good low-frequency performance, but decoupling is less effective below 80 Hz
• MLV: Excellent low-frequency blocking—mass remains effective at all frequencies
For subwoofer containment and traffic rumble, MLV has the edge. For general voice and music isolation, performance is comparable.
4Installation Complexity
Sound Isolation Clip Installation
2. Clip attachment: Screws must hit stud center; off-center mounting reduces performance
3. Hat channel installation: Channel snaps into clips, must be level
4. Drywall attachment: CRITICAL—screws must only penetrate hat channel, never studs
5. Perimeter isolation: Drywall must not touch floor, ceiling, or adjacent walls
• "Short circuits": Any screw touching a stud bypasses the isolation—can reduce STC improvement from +15 to +2
• Perimeter contact: Drywall touching structure creates flanking path
• Missing clips: Insufficient clip density causes drywall sag and reduced isolation
• Wrong screw length: Screws penetrating through channel into clips
MLV Installation
2. Attach to studs: Staples, roofing nails, or cap nails every 6-8"
3. Seal seams: Overlap 2" or butt seams with MLV tape
4. Seal perimeter: Acoustic caulk at all edges and penetrations
5. Install drywall: Standard drywall installation over MLV
• Unsealed seams: Gaps allow sound bypass—but easily fixed with tape
• Unsealed penetrations: Outlets, switches, pipes need acoustic caulk
• Sagging: MLV is heavy; adequate fastening prevents drooping
• Insufficient overlap: Seams need proper overlap or tape coverage
DIY Friendliness
5Cost Analysis
Sound Isolation Clip Costs
• Hat channel: $0.50-0.75/linear ft × ~200 ft = $100-150
• Additional drywall depth: Trim extensions, outlet boxes = $50-100
• Installation labor: Specialized skill required = $300-500
• Total cost: $690-1,150
• Typical STC improvement: 12-15 points
• Cost per STC point: $46-96
MLV Costs
• MLV tape: $25-40
• Acoustic caulk: $30-50
• Installation labor: Standard skill level = $200-300
• Total cost: $655-990
• Typical STC improvement: 15-17 points
• Cost per STC point: $39-66
Value Comparison
| Metric | Sound Clips | MLV |
|---|---|---|
| Total installed cost | $690-1,150 | $655-990 |
| Cost per STC point | $46-96 | $39-66 |
| Wall thickness added | 1-1.5" | 1/8"-1/4" |
| DIY friendly? | Moderate | Yes |
| Installation risk | High (short circuits) | Low (fixable gaps) |
6When Clips Excel
Professional Installation Available
New Construction
Impact Noise Priority (Ceilings)
Mid/High Frequency Focus
Fire-Rated Assemblies
7When MLV Wins
DIY and Budget-Conscious Projects
Low-Frequency Noise Priority
Space-Constrained Applications
Retrofit Applications
Duct and Pipe Wrapping
Removable/Temporary Applications
8The Ultimate Combination
Recommended Premium Assembly
2. Cavity insulation: Mineral wool (Rockwool/Roxul) for cavity absorption
3. MLV layer: 1 lb MLV applied to stud face
4. Sound isolation clips: RSIC-1 or equivalent over MLV
5. Hat channel: Standard 25-gauge hat channel in clips
6. Finish layer: 5/8" Type X drywall (or double layer)
7. Perimeter sealing: Acoustic caulk at all edges
Why This Works
• Clips decouple the drywall, preventing efficient vibration transfer
• Mineral wool absorbs cavity resonance and improves mid-frequency performance
• Combined benefit: Mechanisms don't overlap—each contributes independently
Performance Data
• Tested STC: 62-68
• Low-frequency performance: Exceptional (MLV contribution)
• Mid/high-frequency performance: Exceptional (clips + MLV contribution)
• Compared to clips alone: +8-12 STC points
• Compared to MLV alone: +8-12 STC points
Cost of Ultimate Assembly
• Total materials + labor: $1,200-1,800
• STC improvement: 25-30 points
• Cost per STC point: $40-72
The combination achieves studio-grade isolation suitable for recording studios, home theaters, and premium residential applications.
10Conclusion
The Verdict on Sound Isolation Clips vs MLV: Both systems deliver premium soundproofing performance through different mechanisms. Clips decouple drywall from structure; MLV adds mass that resists vibration. Performance is comparable at 12-17 STC points each.
For DIY projects, retrofits, and low-frequency noise, MLV offers better value with lower installation risk and minimal space consumption. For professional installations, new construction, and impact noise, clips deliver excellent results when properly installed.
The ultimate solution? Combine both. MLV under clips achieves STC 62-68—studio-grade performance that exceeds either system alone. For critical applications like recording studios, home theaters, and premium residential, this combination justifies the investment.
FAQs: Sound Isolation Clips vs MLV
Related Guides in Comparison
Continue exploring with these hand-picked articles
Drywall vs MLV: The Heavyweight Battle for Silence
Drywall is everywhere, but can stacking more of it compete with Mass Loaded Vinyl for soundproofing? Compare STC ratings, installation, and costs to find the best noise-blocking solution.
Green Glue vs MLV: The Damping Compound Showdown
Green Glue damping compound vs Mass Loaded Vinyl - which soundproofing material wins? Compare cost, STC performance, installation, and ideal use cases for each solution.
QuietRock vs MLV: The Engineered Drywall Duel
QuietRock engineered drywall vs Mass Loaded Vinyl - which soundproofing solution wins? Compare STC ratings, installation, cost, and when to use each for your project.
Our Complete Product Line
Professional-grade soundproofing materials for any application

Need Expert Soundproofing Advice?
Our team of soundproofing specialists is here to help you choose the right products and installation methods for your museum or gallery project.