The Best Acoustic Treatment Materials for Home Studios Under $500
1Why Your Untreated Room Is Ruining Your Sound
• Standing waves: Low frequencies build up at specific points in the room, creating boomy spots and dead zones. This is why your bass sounds enormous at your desk but disappears two feet away.
• Comb filtering: When direct sound and reflected sound combine at your listening position, certain frequencies cancel out while others amplify. The result is an uneven, unreliable frequency response that makes mixing impossible.
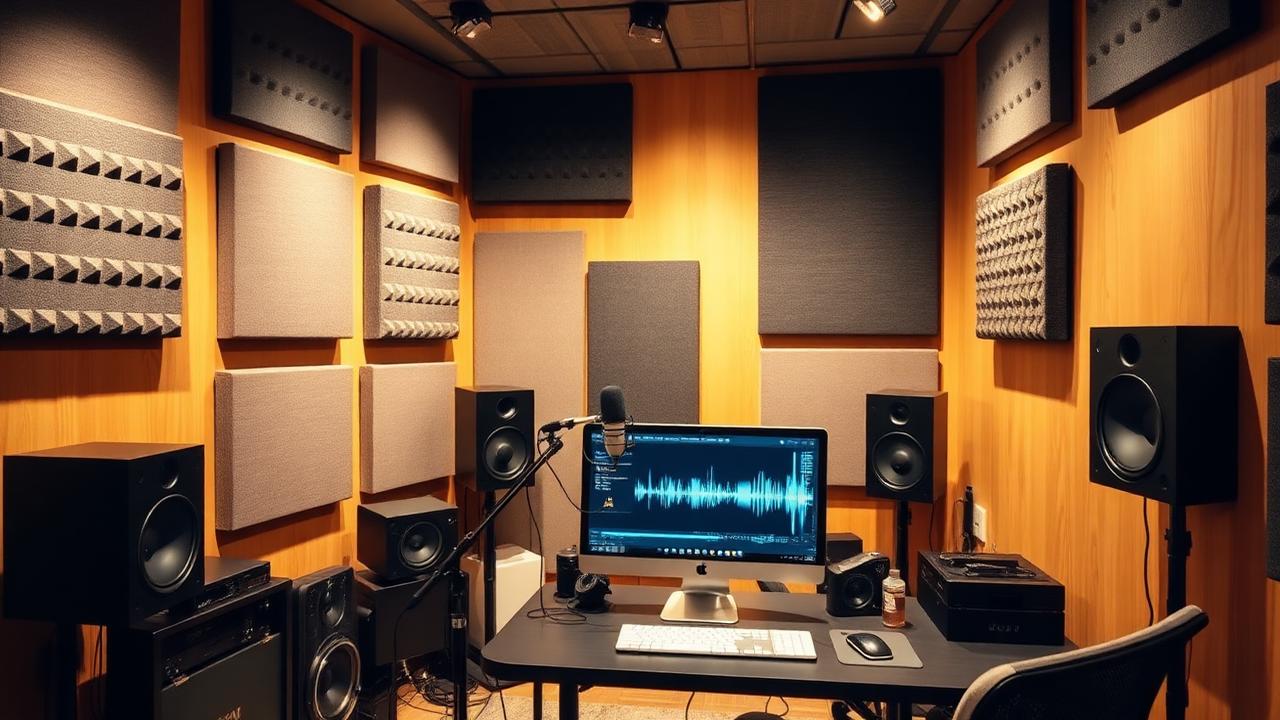
2Acoustic Panels: The Foundation of Any Studio
• Pre-made budget panels: Companies sell 2-inch fiberglass panels for $25-40 each. Less cost-effective than DIY but zero construction required.
3Bass Traps: Taming the Low End
• Foam bass traps: Budget foam corner traps ($15-25 each) are available but significantly less effective below 200 Hz. They are better than nothing but represent a compromise.
4Diffusers: When Reflection Is Better Than Absorption
• Bookshelf diffusion: A bookshelf filled with irregularly sized books and objects creates surprisingly effective diffusion — and costs nothing if you already own books. Place it on the rear wall behind your listening position.
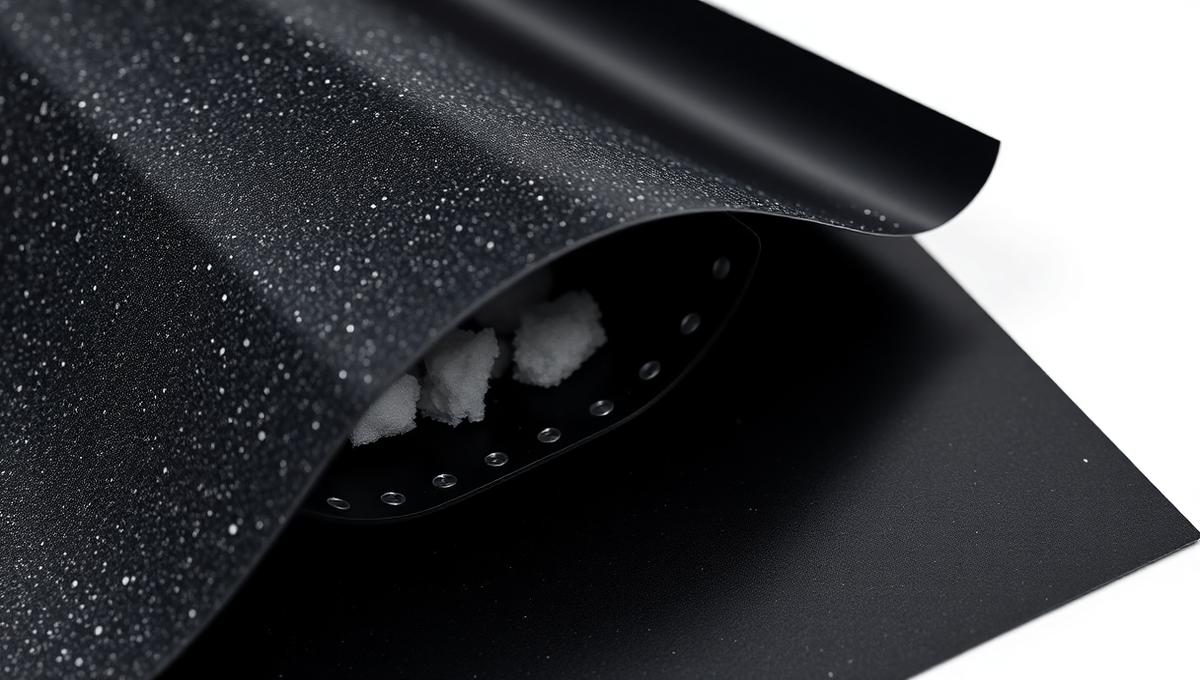
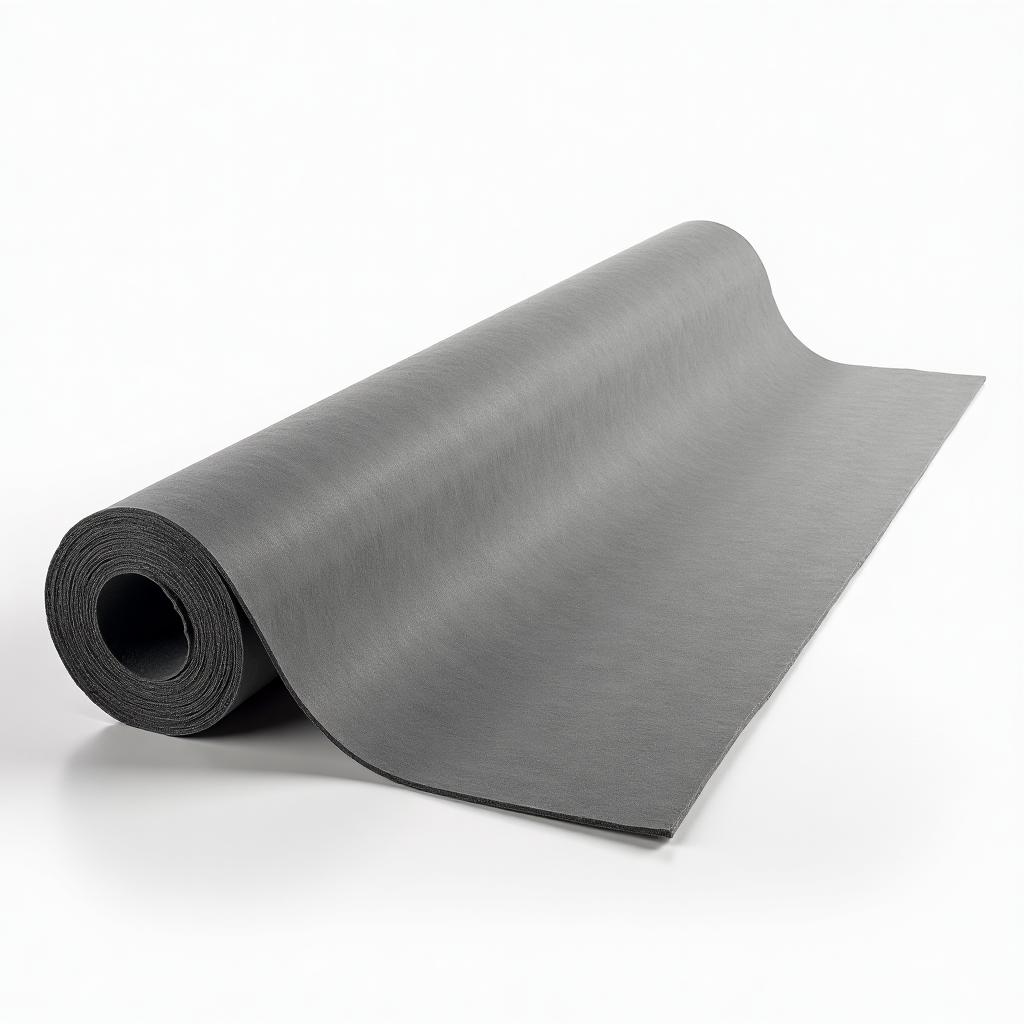
5Mass Loaded Vinyl: Keeping Sound In (and Out)
• Door sealing: The weakest link in any room is the door. Adding MLV to the back of a hollow-core door and installing door sweep seals dramatically reduces noise leakage for under $50.
• Window plugs: Build removable window plugs using MLV sandwiched between rigid insulation boards. These can reduce window noise transmission by 15-20 dB and cost $30-50 per window.
6The $500 Home Studio Treatment Plan
| Item | Quantity | Cost |
|---|---|---|
| DIY mineral wool panels (2x4 ft, 4" thick) | 6 panels | $120 |
| DIY corner bass traps (floor-to-ceiling) | 4 corners | $90 |
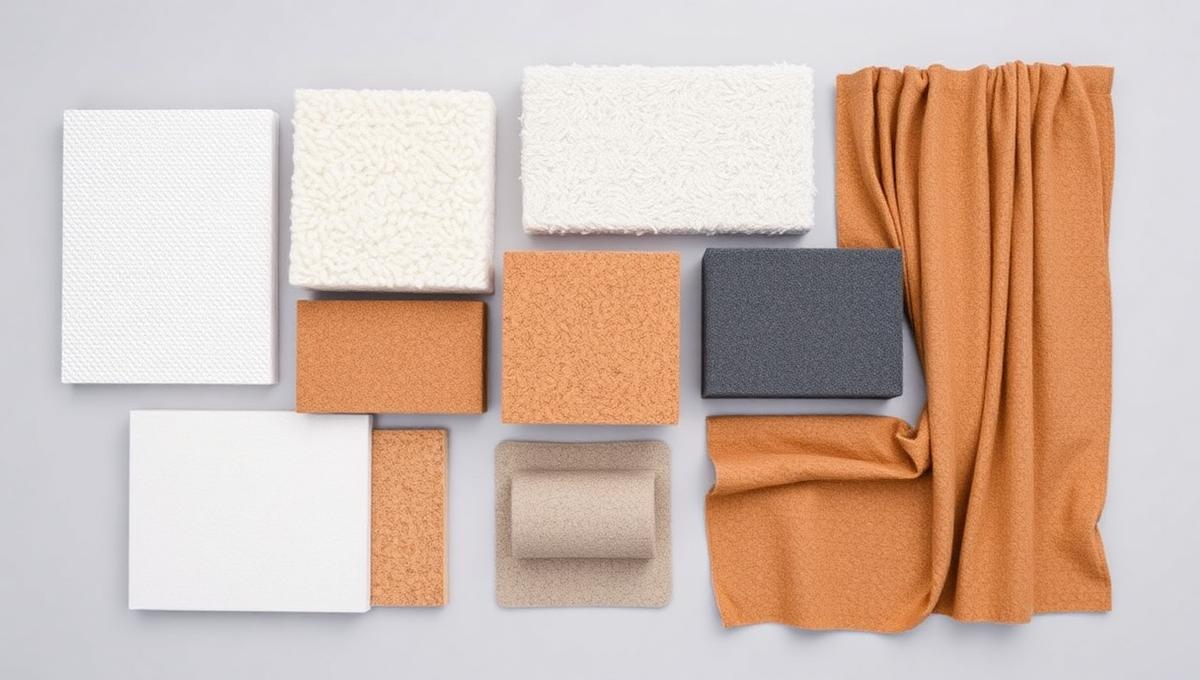
| Fabric for wrapping panels & traps | 15 yards | $45 |
| Mounting hardware (impaling clips, Z-clips) | Assorted | $30 |
| MLV for worst wall (1 lb/sf, 4x25 roll) | 1 roll | $130 |
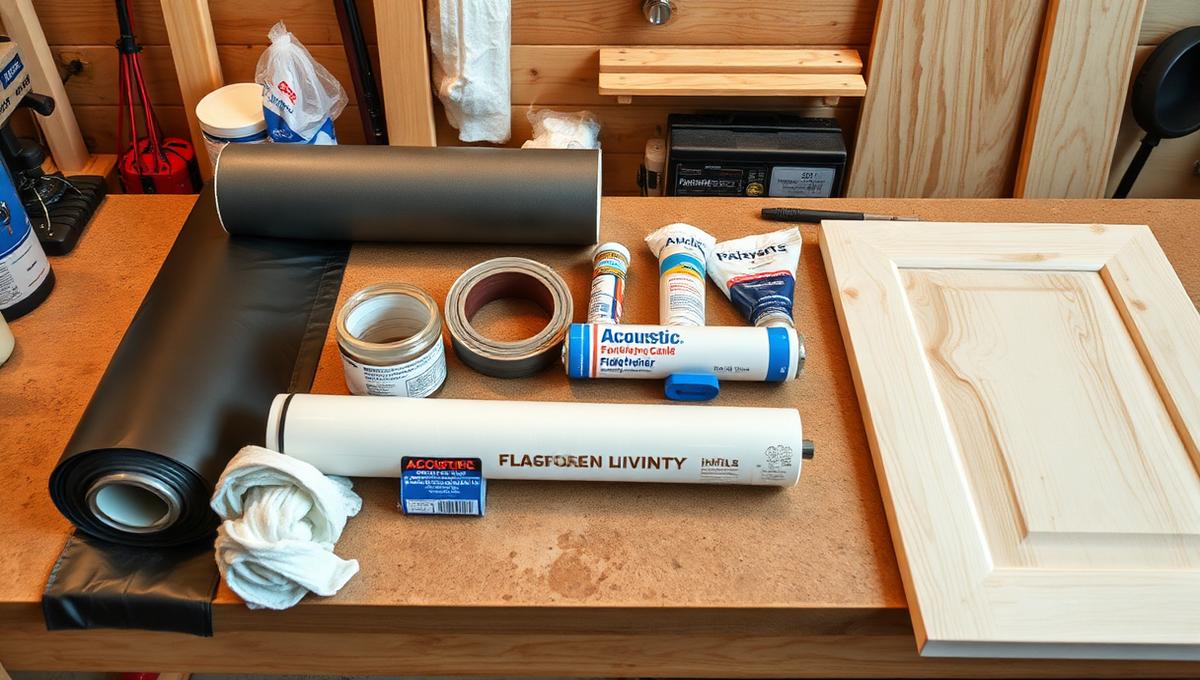
| Door seal kit + MLV for door | 1 set | $45 |
| Acoustic caulk for sealing gaps | 2 tubes | $30 |
| Total | $490 |
7Common Mistakes That Waste Your Budget
• Covering every wall surface: More is not better. A room with 100% wall coverage sounds uncomfortably dead and makes performances feel claustrophobic. Target 30-40% wall coverage at strategic locations.
• Ignoring the ceiling: The ceiling is a massive reflective surface that most beginners forget. At minimum, place one panel directly above your recording or mixing position.
• Egg cartons and moving blankets: Egg cartons do nothing measurable for acoustics. Moving blankets provide marginal high-frequency absorption but are not a substitute for proper treatment. Both are a waste of time and wall space.
• Skipping the door and gaps: You can treat every wall perfectly, but if your hollow-core door has a half-inch gap at the bottom, outside noise pours in unobstructed. Seal every gap before adding expensive materials.
9Conclusion
FAQs: Acoustic Treatment Home Studio
Related Guides in Materials
Continue exploring with these hand-picked articles
15 Best Cheap Soundproofing Materials 2026 (That Actually Work)
The 15 best budget soundproofing materials for 2026, ranked by real STC data and cost per square foot. Compare MLV, weatherstripping, acoustic caulk, resilient channels, green glue, and more.
10 Best Sound Absorbing Materials for Flawless Acoustics
Discover the 10 best sound absorbing materials ranked by NRC rating. Compare fiberglass, mineral wool, acoustic foam, PET felt, perforated wood, cork, acoustic plaster, and moss walls with placement strategies.
What Is MLV Actually Made Of? (And Why the Ingredients Matter)
Learn exactly what mass loaded vinyl (MLV) is made of—barium sulfate, calcium carbonate, thermoplastic polymers—and the material science that makes it the most effective thin-profile sound barrier.
Our Complete Product Line
Professional-grade soundproofing materials for any application

Need Expert Soundproofing Advice?
Our team of soundproofing specialists is here to help you choose the right products and installation methods for your museum or gallery project.