Acoustic Sealant & MLV Tape: The Overlooked Materials That Make or Break Soundproofing
1Why Gaps Are the #1 Enemy of Soundproofing
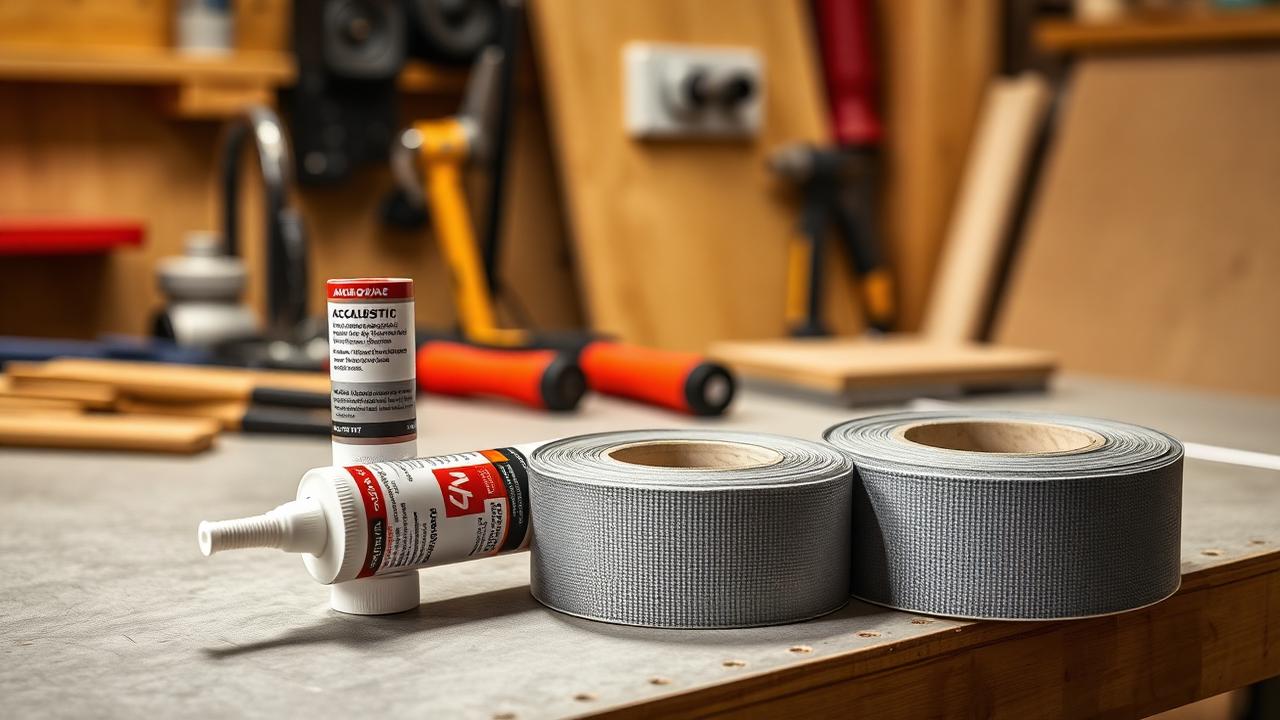
2Acoustic Sealant: What It Is and Why It Matters
Why Non-Hardening Matters
Key Properties of Quality Acoustic Sealant
• Strong adhesion: Bonds to drywall, wood, metal studs, concrete, and MLV surfaces
• Paintable: Can be painted over for clean finished appearance
• Low VOC: Safe for indoor use in occupied buildings
• Non-staining: Will not bleed through paint or discolor adjacent surfaces
• Fire-rated: Quality products meet ASTM E84 requirements for use in fire-rated assemblies
3MLV Seam Tape: Sealing the Barrier Chain
What Makes MLV Tape Different from Duct Tape
• Width: Typically 2-4 inches wide to cover overlaps completely
• Conformability: Flexible enough to follow corners, curves, and transitions without lifting
• Durability: Will not dry out, crack, or lose adhesion inside wall cavities over decades
• Mass contribution: Adds a small but meaningful amount of mass at the seam, reinforcing the weakest point
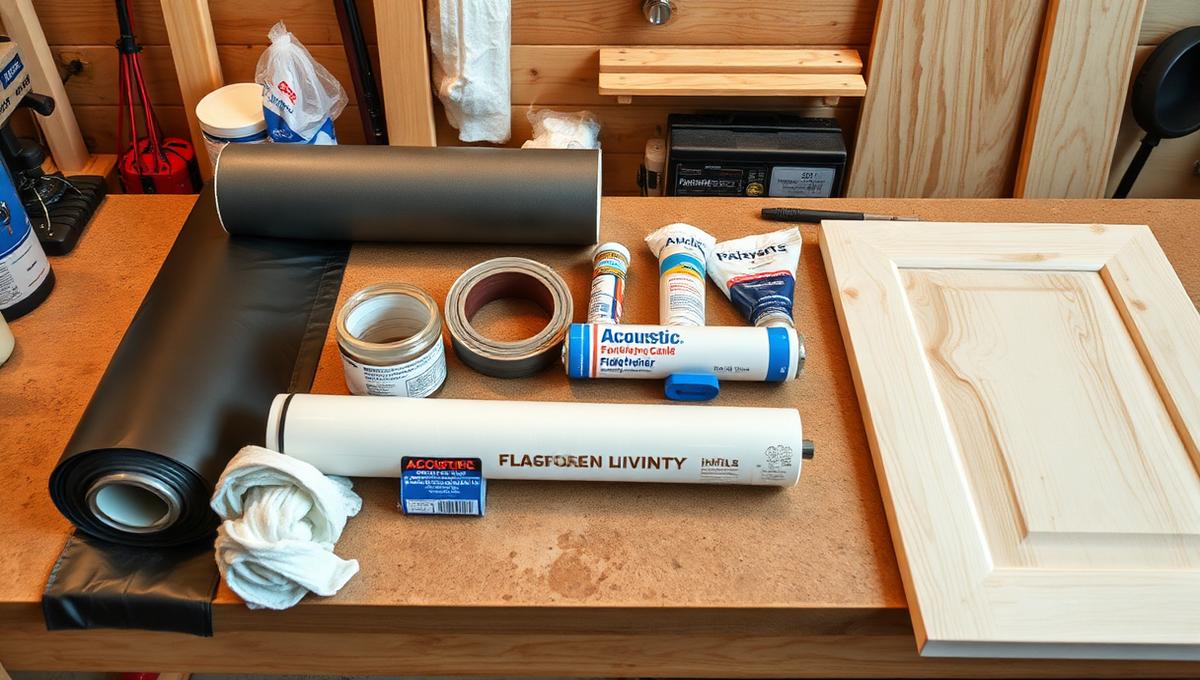
4Where to Apply Sealant and Tape in Every Installation
Acoustic Sealant Application Points
• Electrical boxes: Seal around every outlet, switch, and junction box penetrating the MLV layer
• Pipe and conduit penetrations: Fill gaps around plumbing, HVAC, and electrical conduit with sealant
• Drywall-to-MLV contact: Apply between the back of drywall and the face of MLV for an additional seal layer
• Corner joints: Inside and outside corners where walls meet ceilings or adjacent walls
MLV Seam Tape Application Points
• Patch repairs: Cover any cuts, tears, or holes in the MLV with tape extending 2 inches beyond the damage on all sides
• Transition details: Where MLV transitions from wall to ceiling or from one surface type to another
5Common Mistakes That Ruin an Otherwise Perfect Install
• Using standard caulk: Latex and silicone caulk harden and crack, reopening gaps within 1-3 years
• Taping over dust or debris: MLV seam tape requires a clean, dry surface for permanent adhesion—wipe seams before taping
• Insufficient overlap: Less than 2 inches of overlap between MLV sheets creates weak seams even with tape
• Ignoring electrical penetrations: A single unsealed outlet box can reduce wall STC by 5-8 points
• Stretching tape too thin: Apply tape with firm pressure but without stretching—stretched tape retracts and lifts over time
6Choosing the Right Products
Acoustic Sealant Selection
• Check VOC ratings: Low-VOC formulations are essential for occupied spaces and green building certifications
• Coverage rate: A standard 28 oz tube covers approximately 40-50 linear feet in a 1/4-inch bead—plan accordingly
• Compatibility: Confirm the sealant is compatible with MLV, drywall, wood, and metal surfaces
MLV Tape Selection
• Adhesive type: Pressure-sensitive acrylic adhesive bonds best to MLV surfaces long-term
• Temperature range: Ensure the tape is rated for the temperature extremes in your installation environment
• Quantity planning: Calculate total linear feet of seams plus 10% waste allowance
8Conclusion
FAQs: Acoustic Sealant MLV Tape
Related Guides in Materials
Continue exploring with these hand-picked articles
15 Best Cheap Soundproofing Materials 2026 (That Actually Work)
The 15 best budget soundproofing materials for 2026, ranked by real STC data and cost per square foot. Compare MLV, weatherstripping, acoustic caulk, resilient channels, green glue, and more.
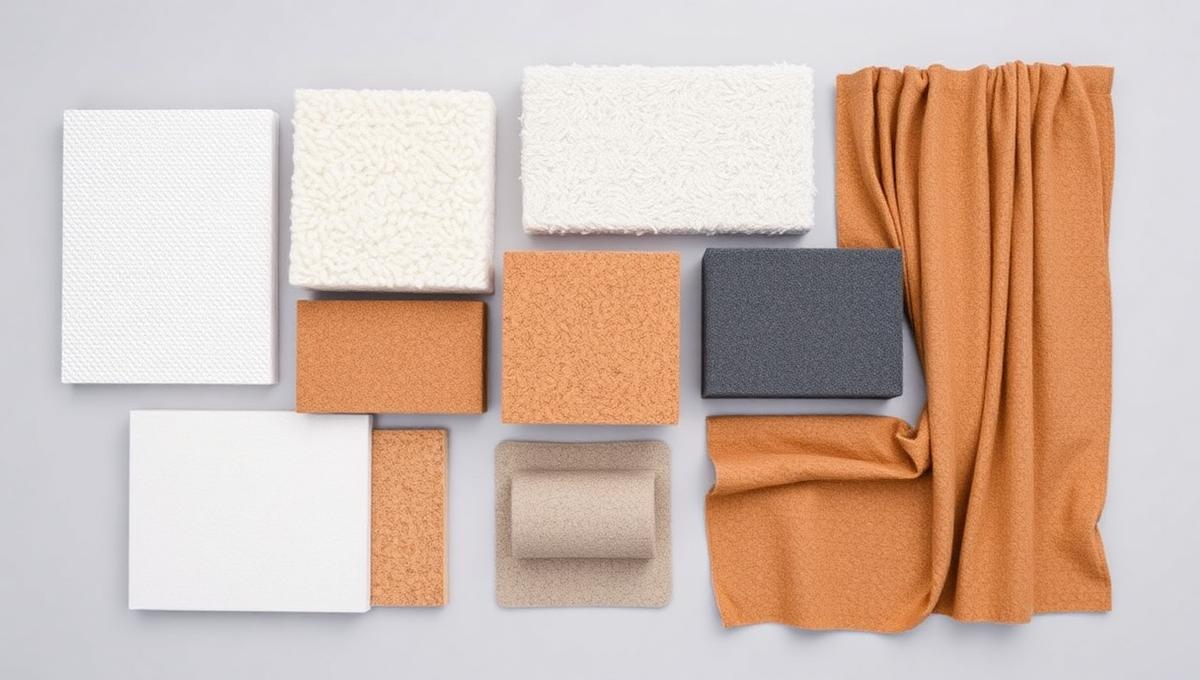
10 Best Sound Absorbing Materials for Flawless Acoustics
Discover the 10 best sound absorbing materials ranked by NRC rating. Compare fiberglass, mineral wool, acoustic foam, PET felt, perforated wood, cork, acoustic plaster, and moss walls with placement strategies.
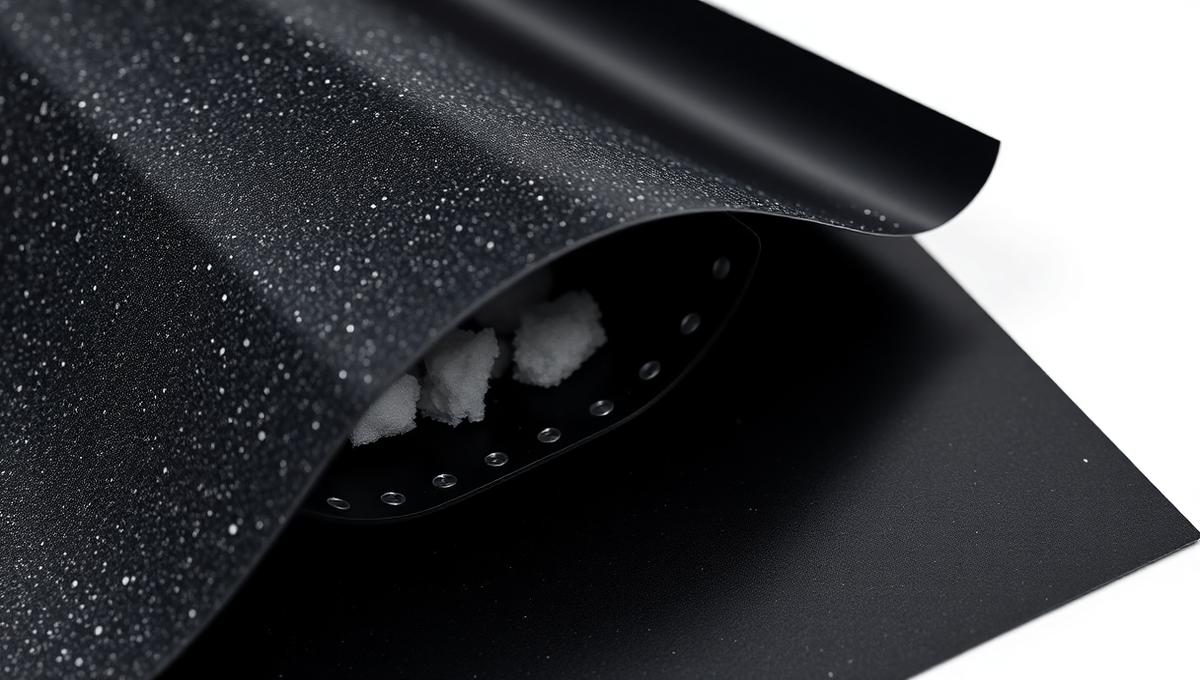
What Is MLV Actually Made Of? (And Why the Ingredients Matter)
Learn exactly what mass loaded vinyl (MLV) is made of—barium sulfate, calcium carbonate, thermoplastic polymers—and the material science that makes it the most effective thin-profile sound barrier.
Our Complete Product Line
Professional-grade soundproofing materials for any application

Need Expert Soundproofing Advice?
Our team of soundproofing specialists is here to help you choose the right products and installation methods for your museum or gallery project.