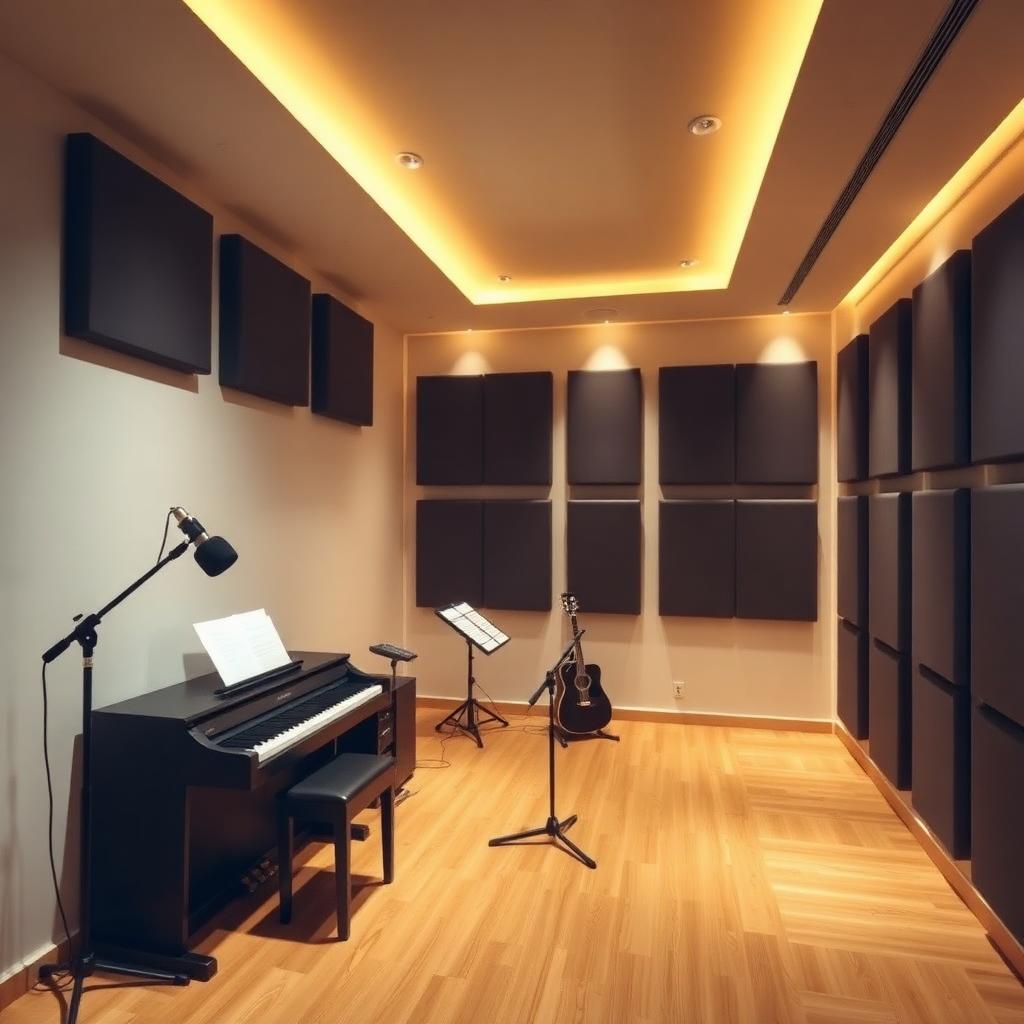
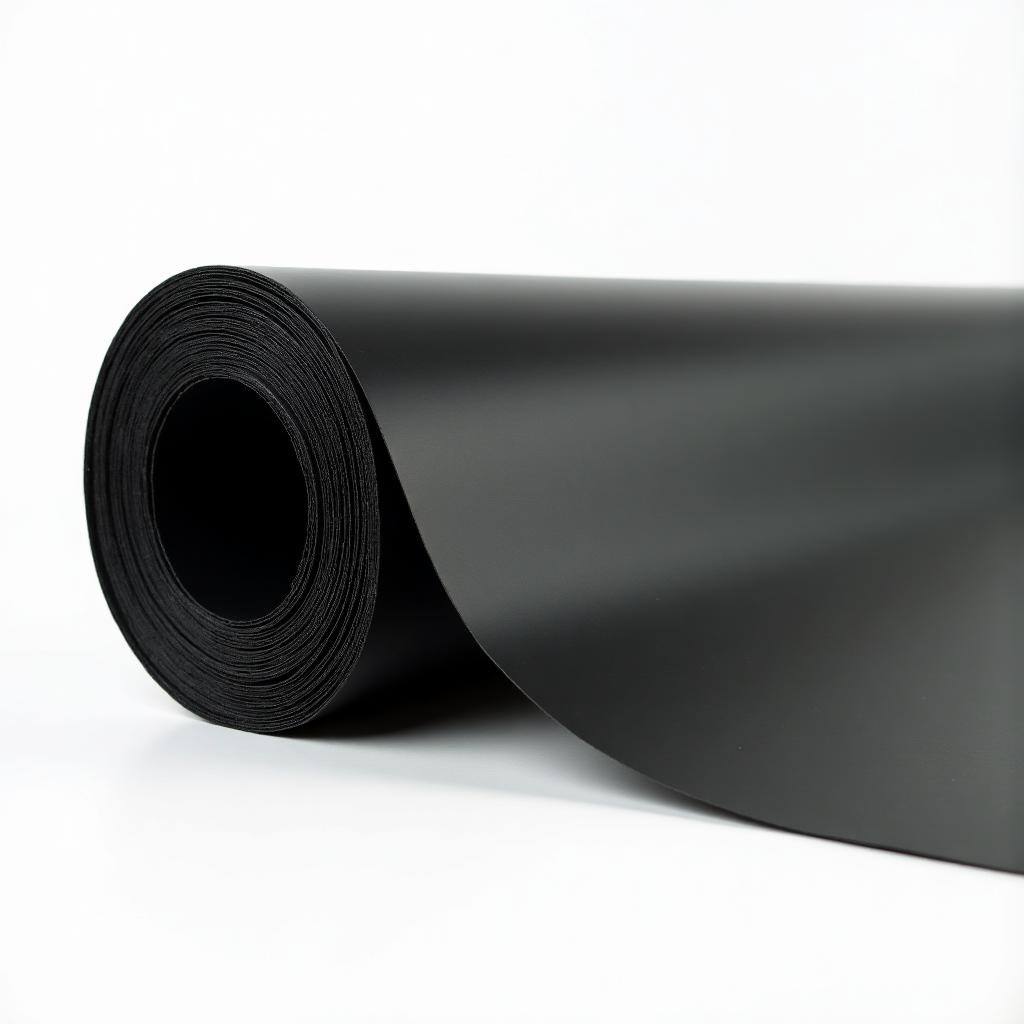
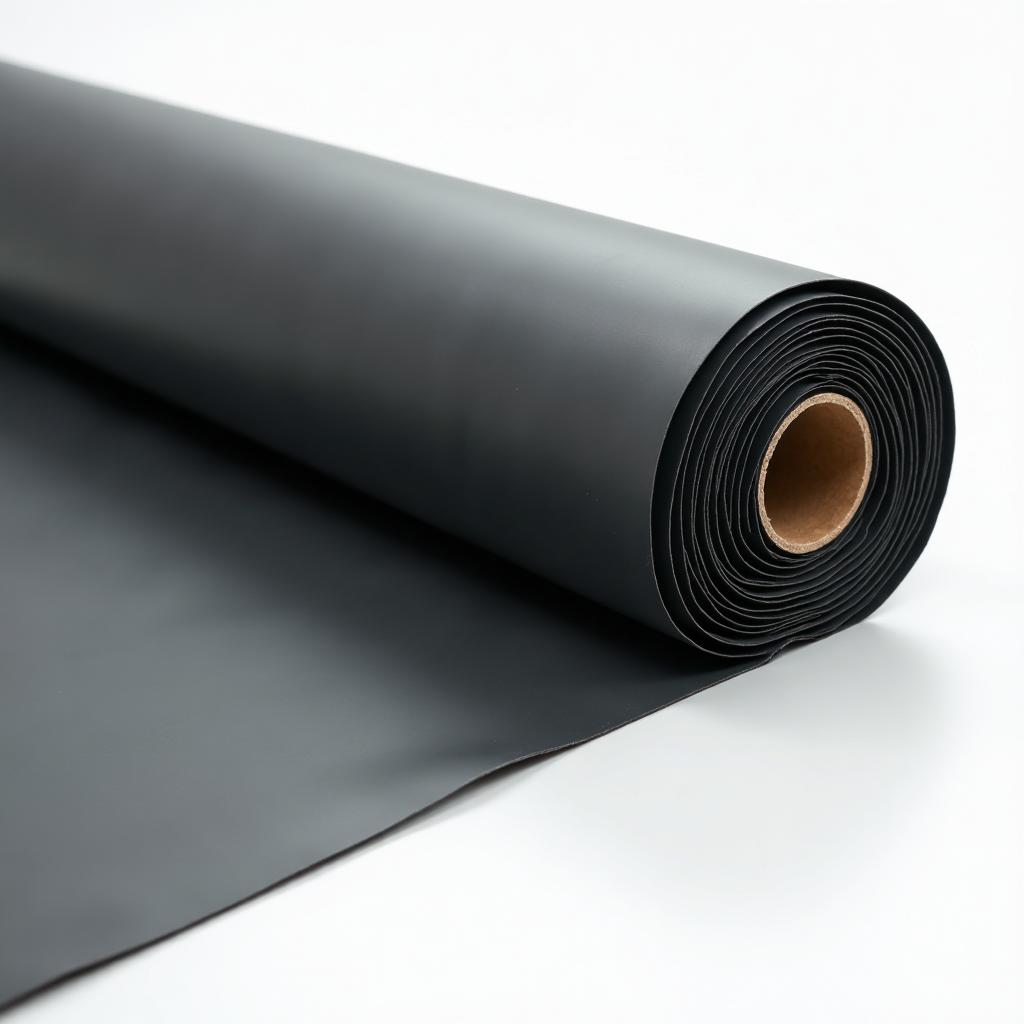
Music Room Soundproofing with Mass Loaded Vinyl (MLV)
1Why Music Rooms Need Serious Soundproofing
Music practice creates acoustic challenges far beyond typical residential noise.
The Volume Reality
Musical instruments generate significantly more sound than everyday activities:
| Activity/Instrument | Typical Level (dB) | Comparison |
|---|---|---|
| Normal conversation | 60-65 dB | Baseline |
| Acoustic guitar | 75-85 dB | Like busy traffic |
| Piano (classical) | 80-95 dB | Like a lawnmower |
| Violin/viola | 80-95 dB | Like a power tool |
| Trumpet/saxophone | 85-105 dB | Like a motorcycle |
| Amplified guitar | 90-110 dB | Like a jackhammer |
| Drum kit | 100-120 dB | Like a jet takeoff |
The Neighbor Problem
Most residential areas have noise ordinances that limit sound at property lines:
- Typical daytime limit: 55-65 dB at property line
- Typical nighttime limit: 45-55 dB at property line
- The math: A 100 dB drum kit in an untreated room can easily exceed 70 dB at the property line
- Legal risk: Repeated violations can result in fines, court orders, or even eviction in rental situations
The Family Factor
Even if neighbors aren't an issue, family members suffer:
- Work from home: A spouse on conference calls can't function near an untreated music room
- Sleep schedules: Early-morning or late-night practice disturbs different schedules
- Homework and study: Children trying to concentrate face constant distraction
- General peace: Constant exposure to loud practice creates household tension
The Musician's Benefit
Soundproofing benefits the musician too:
- Practice freedom: Play whenever inspiration strikes, not just during "acceptable" hours
- Full volume: Practice at performance levels without holding back
- Recording quality: Block external noise that ruins takes
- Focus: Eliminate distractions from household noise
2Understanding Instrument Noise Levels
Different instruments create different acoustic challenges—understanding yours helps prioritize your investment.
Frequency Considerations
Low frequencies are harder to block than high frequencies:
| Instrument Category | Primary Frequency Range | Blocking Difficulty |
|---|---|---|
| Bass guitar, kick drum | 40-200 Hz | ★★★★★ Very difficult |
| Piano (bass notes), cello | 65-500 Hz | ★★★★☆ Difficult |
| Guitar, vocals, violin | 80-1,000 Hz | ★★★☆☆ Moderate |
| Flute, piccolo, cymbals | 250-4,000+ Hz | ★★☆☆☆ Easier |
Airborne vs. Structure-Borne Sound
Instruments create sound that travels two different ways:
- Airborne: Sound waves traveling through the air, then through walls (vocals, wind instruments, acoustic strings)
- Structure-borne: Vibrations traveling through building structure (drums, bass, piano with legs on floor)
Key insight: MLV excels at blocking airborne sound. Structure-borne sound requires additional decoupling and isolation strategies.
Target STC Ratings by Instrument
| Instrument | Minimum STC Goal | Ideal STC Goal | Notes |
|---|---|---|---|
| Voice/acoustic guitar | STC 45 | STC 50-55 | Moderate levels, easier to contain |
| Piano | STC 50 | STC 55-60 | Low frequencies need mass |
| Violin/brass | STC 50 | STC 55-60 | Piercing frequencies travel far |
| Amplified instruments | STC 55 | STC 60+ | High SPL requires serious isolation |
| Drums | STC 55 | STC 60-65 | Plus IIC treatment for impact |
3The Dual Challenge: Containment vs. Acoustics
Music rooms require solving two distinct problems—and they require different solutions.
Soundproofing (Containment)
Preventing sound from leaving (or entering) the room:
- Goal: Block transmission through walls, ceiling, floor, doors, windows
- Mechanism: Add mass, seal gaps, decouple surfaces
- Materials: Mass Loaded Vinyl, dense drywall, solid doors, sealed windows
- Measurement: STC (Sound Transmission Class) and IIC (Impact Insulation Class) ratings
Acoustic Treatment (Sound Quality)
Controlling how sound behaves inside the room:
- Goal: Reduce echo, control reflections, improve monitoring accuracy
- Mechanism: Absorb or diffuse sound energy within the room
- Materials: Acoustic foam, fiberglass panels, bass traps, diffusers
- Measurement: RT60 (reverberation time), frequency response
Why Both Matter
| Scenario | Soundproofing Only | Acoustic Treatment Only | Both Combined |
|---|---|---|---|
| Sound containment | ★★★★★ Excellent | ★☆☆☆☆ Poor | ★★★★★ Excellent |
| Playing quality | ★★☆☆☆ Echoey | ★★★★★ Good | ★★★★★ Excellent |
| Recording quality | ★★☆☆☆ Reverberant | ★★★☆☆ External noise | ★★★★★ Professional |
| Monitoring accuracy | ★★☆☆☆ Misleading | ★★★★☆ Good | ★★★★★ Accurate |
Common Mistake: Foam Alone
Many musicians cover walls with acoustic foam expecting soundproofing. This is the most common—and expensive—mistake:
- Reality: Acoustic foam absorbs high frequencies within the room but does almost nothing to stop sound transmission
- What happens: The room sounds better inside, but neighbors hear nearly the same volume
- The fix: Install MLV for soundproofing first, then add acoustic treatment on top for room acoustics
4Wall Soundproofing for Music Rooms
Walls are the primary path for music escaping your practice space—treat them thoroughly.
Baseline: Standard Wall Performance
| Wall Type | Typical STC | Sound Reduction |
|---|---|---|
| Single drywall on studs | STC 33-35 | Normal conversation audible next room |
| Double drywall on studs | STC 38-40 | Loud speech muffled |
| Insulated + double drywall | STC 43-47 | Music audible but muffled |
Level 1: MLV + Drywall Overlay (STC 45-52)
Good for acoustic instruments and moderate-volume practice:
- Apply 1 lb/sf MLV directly to existing drywall
- Seal all seams with MLV tape, all edges with acoustic sealant
- Install 5/8" drywall over MLV
- Tape, mud, and finish
Performance: Adds 10-15 STC points. Cost: $4-6/sf installed.
Level 2: Decoupled Wall System (STC 50-58)
Required for amplified instruments and drums:
- Install resilient channels or sound isolation clips to existing wall
- Apply 1-2 lb/sf MLV to channels
- Install 5/8" drywall (never screw into studs)
- Seal all perimeters with acoustic sealant
Performance: Adds 15-22 STC points. Cost: $7-12/sf installed.
Level 3: Double-Wall Construction (STC 60-70)
For professional-grade isolation or drum rooms:
- Build new stud wall with 1" air gap from existing wall
- Fill cavity with insulation
- Apply 2 lb/sf MLV to new studs
- Install double 5/8" drywall
- Seal completely with acoustic sealant
Performance: Achieves STC 60-70. Cost: $15-25/sf installed.
Critical Details
- Complete coverage: Every wall in the room needs treatment—sound finds the weakest path
- Seal obsessively: Use acoustic sealant at every edge, seam, and penetration
- Handle outlets: Acoustic putty pads behind all electrical boxes
- Don't forget corners: Where walls meet ceiling and floor are common leak points
5Ceiling Treatment Strategies
Ceiling treatment is essential for multi-story homes and apartments where sound travels to rooms above.
Why Ceilings Matter for Music
- Direct path: Sound travels straight up through ceiling assemblies
- Flanking paths: Sound travels through wall studs connected to ceiling joists
- Structure-borne: Drums and bass vibrate the floor, which vibrates the ceiling of rooms below and above
- Reflection: Untreated ceilings also contribute to poor room acoustics
Ceiling Treatment Options
| Treatment Level | STC Added | IIC Added | Cost/SF |
|---|---|---|---|
| MLV + new drywall | +8-12 | +3-5 | $4-6 |
| Resilient channels + MLV + drywall | +15-20 | +8-12 | $8-12 |
| Sound clips + MLV + double drywall | +20-28 | +15-20 | $12-18 |
| Dropped ceiling with isolation | +25-35 | +20-25 | $15-25 |
The Resilient Channel Approach
Best balance of cost and performance for most music rooms:
- Install resilient channels perpendicular to joists, 24" on center
- Attach 1 lb/sf MLV to channels
- Install 5/8" Type X drywall to channels
- Ensure no screws penetrate through to joists (this "short circuits" the isolation)
For Drummers and Bass Players
Low-frequency instruments require more aggressive treatment:
- Sound isolation clips: More effective decoupling than resilient channels for bass frequencies
- Double drywall: Two layers of 5/8" drywall add mass for low-frequency blocking
- MLV Pro (1.1 lb/sf): Heavier MLV blocks bass more effectively
- Consider the floor too: Bass travels through structure—ceiling treatment alone won't solve it
6Floor Vibration and Impact Control
For drums, bass instruments, and any amplified music, floor treatment is critical to prevent structure-borne sound transmission.
The Vibration Problem
When drums are struck or bass notes vibrate, energy transfers through:
- Drum throne/stool legs → floor → joists → entire house structure
- Amplifier cabinets → floor → walls → adjacent rooms
- Piano legs → floor → structural transmission to other rooms
- Subwoofers → floor → audible/felt throughout building
Floor Solution Levels
| Solution | Impact Reduction | Best For | Cost |
|---|---|---|---|
| Heavy rubber mat | ★★☆☆☆ | Light acoustic practice | $50-150 |
| Acoustic underlayment + flooring | ★★★☆☆ | Piano, guitar amps | $3-5/sf |
| Floating floor (plywood on rubber) | ★★★★☆ | Drums, bass amps | $8-15/sf |
| Isolated drum riser | ★★★★★ | Full drum kit | $300-800 |
Building a Floating Floor
A floating floor is a secondary floor that doesn't touch the walls or subfloor directly:
- Lay 2" closed-cell rubber mat over entire floor
- Place 3/4" plywood on rubber (don't fasten to subfloor)
- Leave 1/4" gap at all walls (fill with acoustic sealant)
- Add finish flooring on top
Performance: Reduces structure-borne transmission by 70-85%.
Drum Riser Alternative
For drummers, a purpose-built riser may be more practical:
- Construction: 8'x8' (or larger) platform on thick rubber isolation mounts
- Layers: Rubber → plywood → MLV → carpet or drum mat
- Advantage: Portable, replaceable, doesn't require entire floor treatment
- Isolation: Properly built risers achieve 80-90% vibration reduction
Amp and Speaker Isolation
Don't forget to decouple vibration sources:
- Amp stands: Isolation pads under amplifier cabinets
- Monitor stands: Foam or rubber isolators under studio monitors
- Subwoofer platforms: Dense rubber pads or purpose-built isolation platforms
7Door and Window Solutions
Doors and windows are typically the weakest links in music room soundproofing—address them thoroughly.
Door Requirements
Standard interior doors are completely inadequate for music rooms:
| Door Type | STC Rating | Music Room Suitability |
|---|---|---|
| Hollow-core interior | STC 15-20 | ★☆☆☆☆ Useless |
| Solid-core wood | STC 25-30 | ★★☆☆☆ Minimum |
| Solid-core + sealing | STC 32-38 | ★★★☆☆ Acceptable for acoustic |
| Commercial acoustic door | STC 45-55 | ★★★★☆ Good for amplified |
| Studio door (double) | STC 55-65 | ★★★★★ Drum room ready |
Door Upgrade Strategy
For most music rooms, a solid-core door with proper sealing is sufficient:
- Replace with solid-core door (minimum 1-3/4" thick)
- Install compression weatherstripping on all three jamb sides
- Add automatic door bottom seal (activates when door closes)
- Install adjustable threshold with seal
- Consider adding MLV to door interior (+8-12 STC)
Cost: $300-600 total. Result: STC 35-42 when properly sealed.
Double Door Option
For drum rooms or maximum isolation:
- Concept: Two solid-core doors with air gap between (like a recording studio)
- Construction: Build a small vestibule with door on each end
- Performance: Can achieve STC 55-65
- Cost: $1,500-3,000 including framing
Window Considerations
Windows in music rooms should be either eliminated or heavily treated:
- Option 1 - Eliminate: Frame over window with insulated wall matching room treatment (best performance)
- Option 2 - Window plugs: Custom MLV-lined plugs inserted during practice (removable)
- Option 3 - Double glazing: Add interior secondary window with maximum air gap
- Option 4 - Acoustic glazing: Replace with laminated acoustic glass (STC 40-45)
8Instrument-Specific Considerations
Different instruments create different challenges—customize your approach.
Drums
The most demanding instrument to contain:
- Challenges: Extreme SPL (100-120 dB), low-frequency bass drum, structure-borne kick and tom impacts
- Minimum treatment: All walls STC 55+, floating floor or drum riser, decoupled ceiling, solid sealed door
- Budget: $3,000-8,000 for effective containment in a typical room
- Pro tip: Mesh heads and low-volume cymbals reduce source volume by 70% for practice
Piano
Challenging due to wide frequency range and structural coupling:
- Challenges: Low bass notes (27 Hz on grand), high SPL (90+ dB), vibration through legs
- Key treatment: Wall mass for low frequencies (2 lb/sf MLV recommended), vibration isolation under legs
- Budget: $2,000-5,000 for walls + floor treatment
- Pro tip: Rubber caster cups or piano isolation pads under all legs
Electric Guitar and Bass
Amplified instruments can be extremely loud:
- Challenges: Volume depends on amp—can exceed 110 dB, bass frequencies from bass guitar
- Key treatment: Standard wall treatment (STC 50+), amplifier isolation (amp stands, isolation pads)
- Budget: $1,500-4,000 depending on practice volume
- Pro tip: Amp isolation boxes or load boxes allow full-volume tone at reduced room volume
Acoustic Instruments (Guitar, Violin, Voice)
More manageable but still require treatment for unrestricted practice:
- Challenges: Moderate SPL (75-95 dB), primarily airborne transmission
- Key treatment: Basic MLV + drywall overlay achieves adequate containment
- Budget: $1,000-2,500 for effective treatment
- Pro tip: Focus on sealing—these instruments don't require heavy mass
Wind and Brass Instruments
High SPL and penetrating frequencies:
- Challenges: 85-105 dB, mid-high frequencies that carry far, directional projection
- Key treatment: Wall treatment on wall facing instrument bell, comprehensive door sealing
- Budget: $1,500-3,500 for effective treatment
- Pro tip: Absorption on facing wall reduces both room echo and transmission
9Complete Music Room Treatment Plan
A strategic approach maximizes results at every budget level.
Phase 1: Seal and Contain ($300-800)
Essential first steps that often reveal the true noise level:
- Install solid-core door with complete sealing package
- Seal all gaps in walls (outlets, switches, baseboards)
- Address window with plug or heavy curtains
- Add outlet gaskets throughout room
Result: 10-15 dB reduction, reveals remaining weak points.
Phase 2: Wall Treatment ($1,500-4,000)
Address the primary transmission paths:
- Treat all walls with MLV + drywall overlay
- Use resilient channels for decoupling on shared walls
- Ensure complete sealing at all edges
Result: Additional 15-20 dB reduction through walls.
Phase 3: Ceiling Treatment ($1,000-3,000)
Especially important for multi-story homes:
- Resilient channels + MLV + drywall for standard isolation
- Sound isolation clips for maximum decoupling
Result: Additional 15-20 dB reduction to rooms above.
Phase 4: Floor Isolation ($500-2,000)
Critical for drums, bass, and piano:
- Floating floor for comprehensive treatment
- Or drum riser for targeted isolation
- Isolation pads under all vibration sources
Result: 70-90% reduction in structure-borne transmission.
Budget Summary by Instrument Type
| Instrument Category | Minimum Budget | Recommended Budget | Professional Grade |
|---|---|---|---|
| Acoustic/voice | $800-1,500 | $2,000-3,500 | $4,000-6,000 |
| Piano | $1,500-2,500 | $3,000-5,000 | $6,000-10,000 |
| Amplified guitar/bass | $1,200-2,000 | $2,500-4,500 | $5,000-8,000 |
| Drums | $2,500-4,000 | $5,000-8,000 | $10,000-20,000 |
12Conclusion
A properly soundproofed music room transforms your practice experience—no more watching the clock, no more playing softly to avoid complaints, no more tension with neighbors and family. You practice when you want, at the volume you need, for as long as inspiration lasts.
The investment varies widely based on your instrument and situation. Acoustic guitarists and vocalists can achieve excellent results for $1,500-3,000. Pianists and amplified musicians should budget $3,000-6,000. Drummers face the greatest challenge—expect $5,000-10,000 for truly unrestricted practice capability.
Start with proper sealing and a solid door—these basics reveal your true baseline. Then add wall treatment with Mass Loaded Vinyl as the core of your system. For drums and bass instruments, floor isolation is non-negotiable.
The goal isn't just keeping sound in—it's practicing without limits. When your music room delivers that freedom, every dollar of investment pays dividends in improved skills, creative expression, and household harmony.
FAQs: Music Room Soundproofing
Related Guides in Residential Soundproofing
Continue exploring with these hand-picked articles
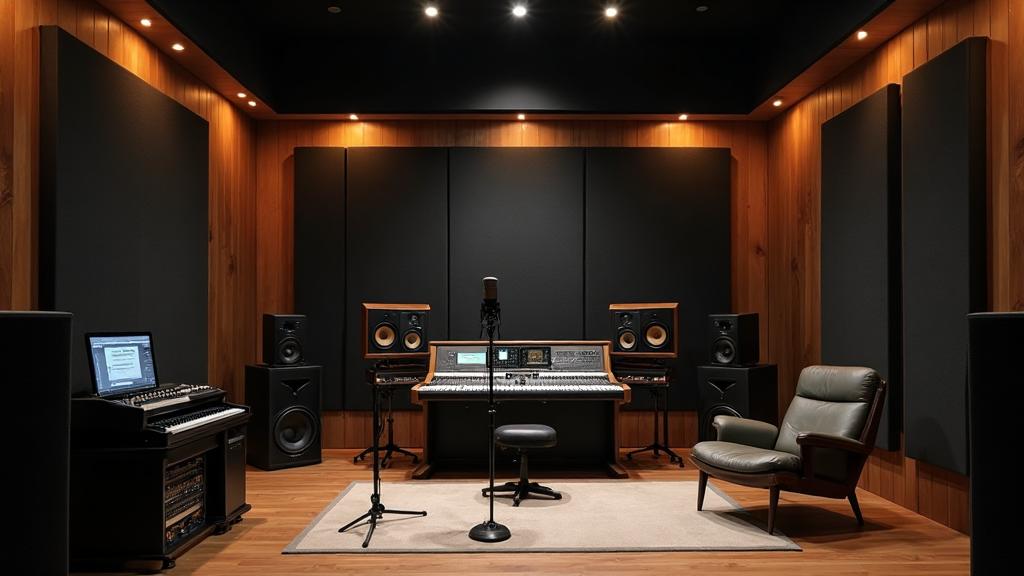
Home Studio Soundproofing with Mass Loaded Vinyl (MLV)
Complete guide to soundproofing your home studio with Mass Loaded Vinyl. Achieve professional-grade STC 55-60 isolation for recording, mixing, and producing without disturbing neighbors or household members.
Apartment Soundproofing with Mass Loaded Vinyl (MLV)
Transform your apartment, studio, or loft into a peaceful retreat. Complete guide to using Mass Loaded Vinyl for blocking neighbor noise through walls, ceilings, and floors—solutions for renters and owners.
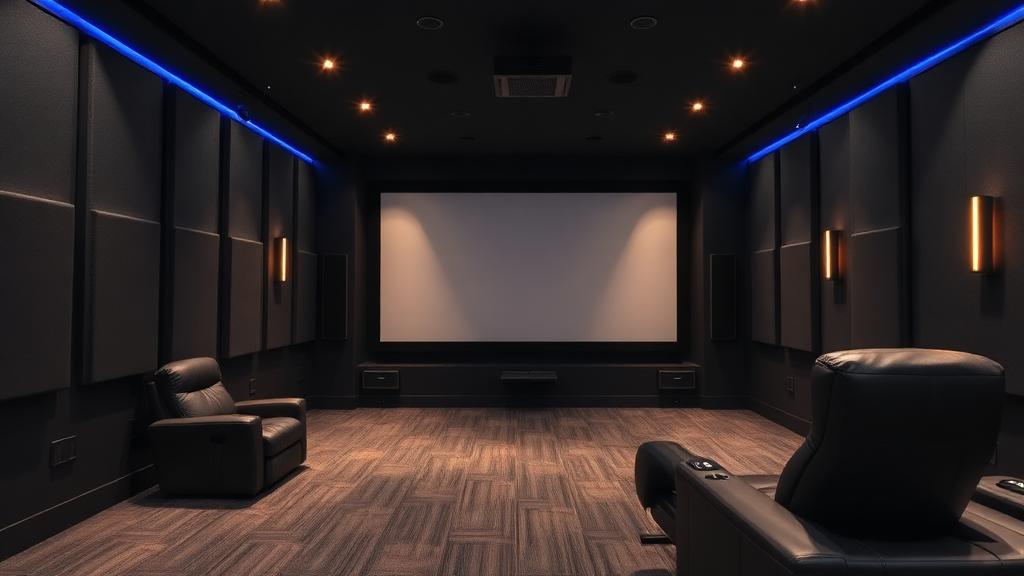
Home Theater Soundproofing with Mass Loaded Vinyl (MLV)
Keep your movie nights from disturbing the rest of the house or neighbors. Complete guide to using Mass Loaded Vinyl for containing loud movies, music, and gaming sound in your dedicated home theater room.
Our Complete Product Line
Professional-grade soundproofing materials for any application

Need Expert Soundproofing Advice?
Our team of soundproofing specialists is here to help you choose the right products and installation methods for your museum or gallery project.