Kids Playroom Soundproofing with Mass Loaded Vinyl (MLV)
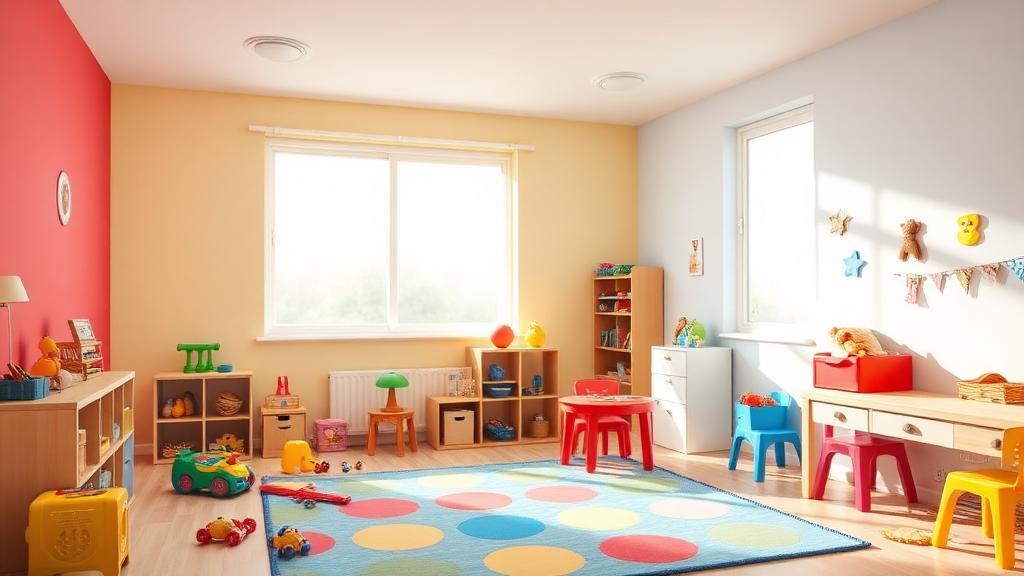
1The Playroom Noise Problem
Understanding playroom noise helps you target the right solutions.
What Makes Playrooms So Loud
Playrooms generate unique acoustic challenges:
- High-pitched screams: Children's voices hit 90+ dB and carry through walls easily
- Impact noise: Jumping, running, toy crashes, and blocks hitting floors create structure-borne vibration
- Musical toys: Electronic toys, drums, and xylophones generate sustained mid-frequency noise
- Hard surfaces: Tile, hardwood, and painted walls reflect sound, amplifying overall noise levels
- Duration: Unlike brief household noises, playtime lasts hours with continuous sound generation
Noise Transmission Paths
| Noise Type | Examples | MLV Effectiveness |
|---|---|---|
| Airborne (voice) | Screaming, singing, talking toys | ★★★★★ Excellent |
| Airborne (mid-frequency) | Music, TV, toy sounds | ★★★★★ Excellent |
| Impact | Running, jumping, toy crashes | ★★★☆☆ Moderate (needs decoupling) |
| Low-frequency | Toy drums, bass from speakers | ★★★★☆ Very Good |
MLV excels at blocking airborne noise—the screams, voices, and electronic toy sounds that make up 60-70% of playroom disturbance.
2Why MLV Works for Playroom Soundproofing
Mass Loaded Vinyl is particularly well-suited for playroom applications because of its unique properties.
The Mass Advantage
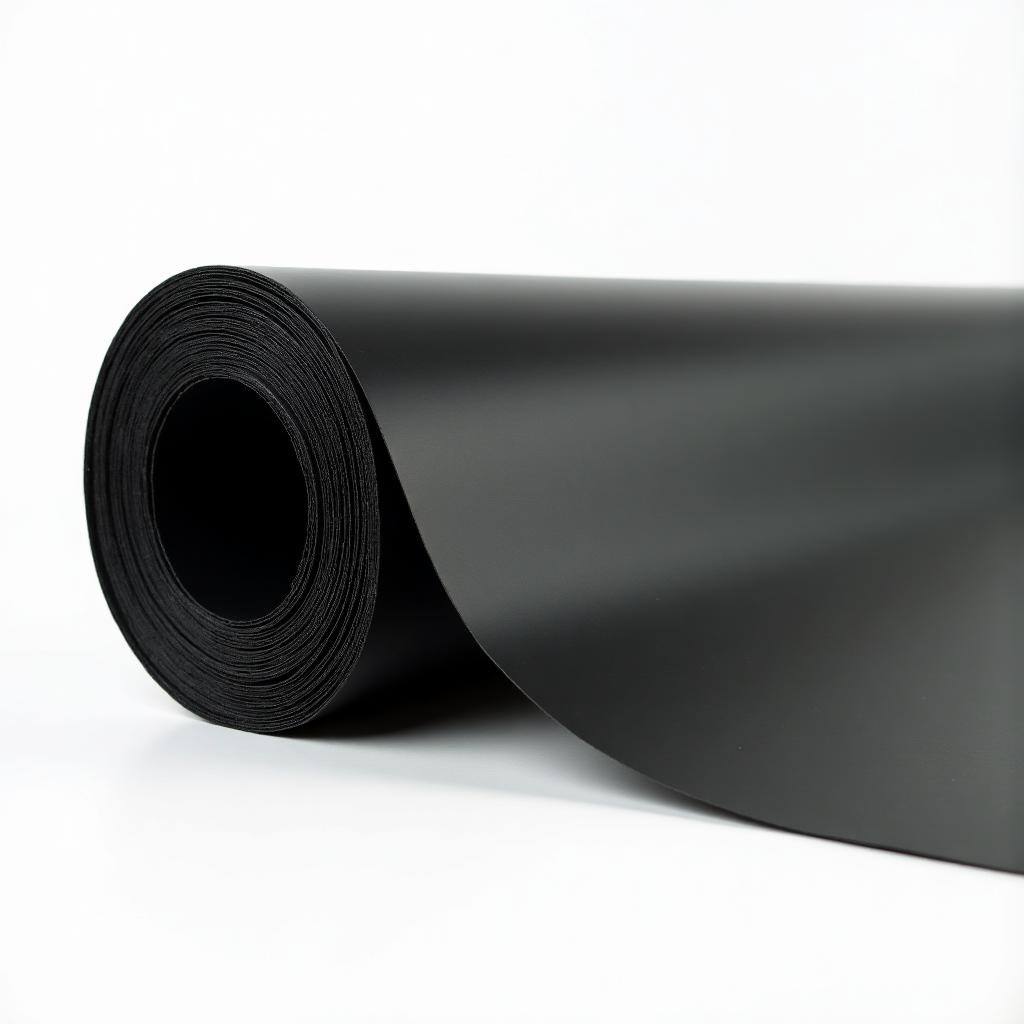
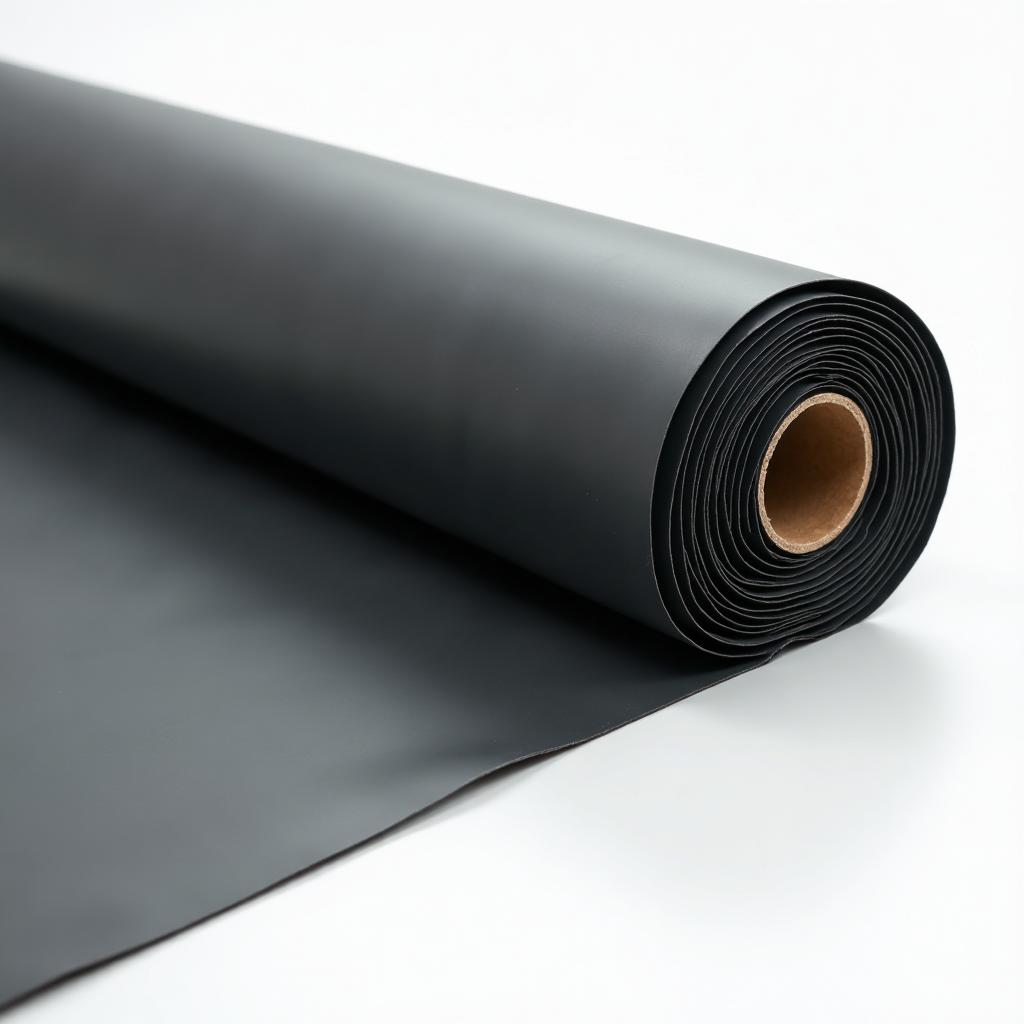
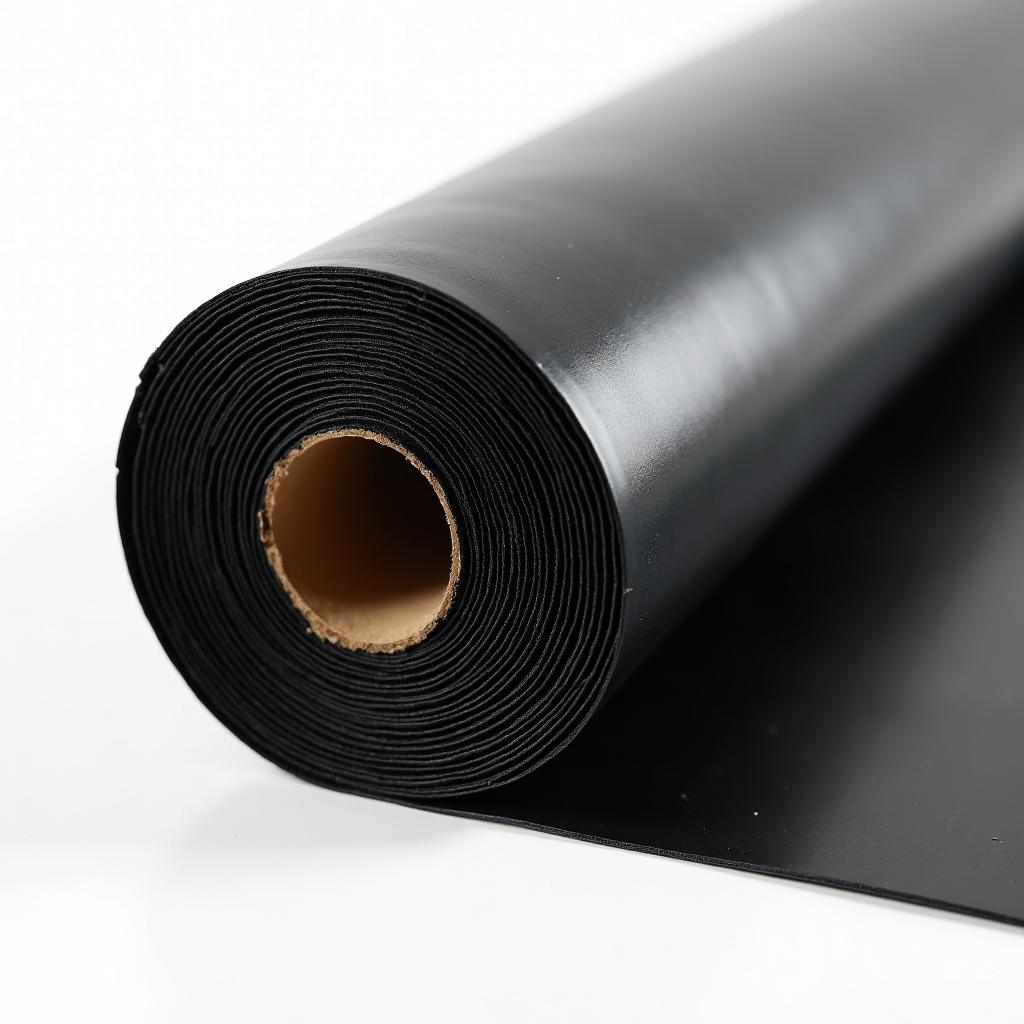
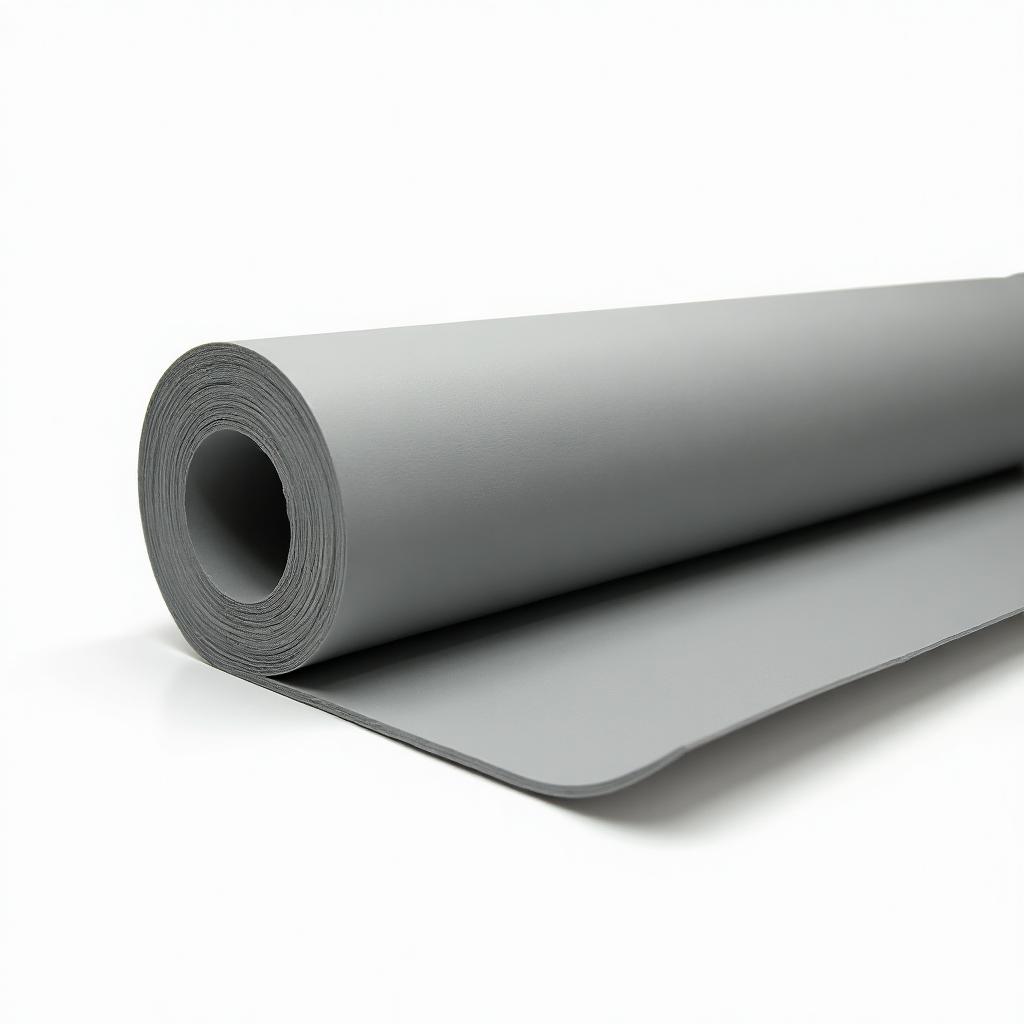
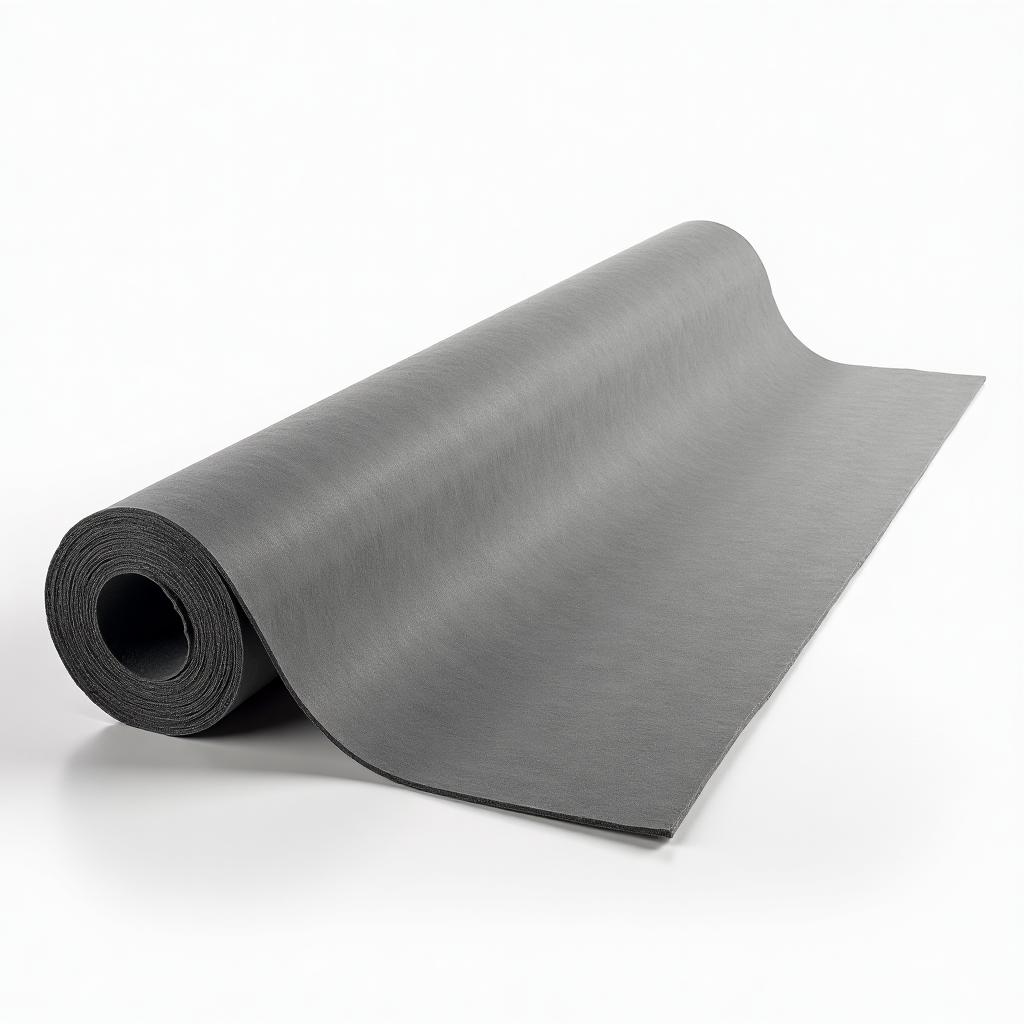
Sound waves lose energy when they hit heavy materials. MLV packs exceptional mass into a thin, flexible sheet:
- 1 lb/sq ft MLV: Only 1/8" thick but weighs as much as 5/8" drywall
- Limp mass principle: Unlike rigid materials, MLV doesn't resonate—it absorbs vibration energy
- Consistent performance: Unlike drywall that varies with installation quality, MLV delivers predictable results
- Thin profile: Minimizes loss of playroom space while maximizing sound blocking
Playroom-Specific Benefits
- Wipe-clean options: Some MLV products can be finished with washable surfaces—important in kid spaces
- No maintenance: Once installed, MLV requires zero upkeep unlike acoustic panels that collect dust
- Fire-rated: Quality MLV meets Class A flame spread requirements for home safety
- Non-toxic: Modern MLV products are phthalate-free and safe for children's spaces
STC Improvement Expectations
| Wall Type | Before MLV | After MLV + Drywall | Improvement |
|---|---|---|---|
| Single-stud drywall | STC 33-35 | STC 42-48 | +9-13 points |
| Double-stud wall | STC 38-42 | STC 50-55 | +12-13 points |
| Interior with insulation | STC 40-42 | STC 48-52 | +8-10 points |
3Assessing Your Noise Sources
Before purchasing materials, identify where playroom noise escapes.
The Listening Test
During active playtime, walk through adjacent spaces and note:
- Which walls transmit the most noise to bedrooms, offices, or neighbors?
- Is the floor a major issue (rooms below)?
- Do doors leak significant sound into hallways?
- Are specific penetrations (outlets, vents, gaps) noticeably louder?
Prioritization Strategy
Target treatment in this order for maximum impact:
- Doors: Usually the weakest link—hollow-core doors leak enormous amounts of sound
- Shared walls: The wall(s) between playroom and bedrooms/offices/neighbors
- Floors: If there are living spaces below the playroom
- Windows: For exterior noise concerns or thin walls with window cutouts
Quick Wins First
Before major construction, try these low-cost improvements:
- Door weatherstripping: Seal gaps around the door frame ($15-30)
- Door sweep: Block the gap at the bottom ($10-25)
- Outlet gaskets: Foam gaskets behind outlet covers ($10 for a 10-pack)
- Thick area rugs: With dense padding to reduce impact noise ($50-200)
4Wall Soundproofing Solutions
Walls typically transmit the most voice and toy noise from playrooms.
Option 1: Add MLV + Drywall Over Existing Walls
The most common approach for finished playrooms:
- Locate studs: Mark stud locations on the existing wall
- Install MLV: Staple or screw 1 lb MLV to studs, overlapping seams 1-2"
- Seal seams: Use acoustical tape over all MLV seams and edges
- Add drywall: Install 5/8" drywall over MLV using screws into studs
- Finish: Tape, mud, and paint as normal
Result: STC improvement of 8-12 points. Normal conversation becomes inaudible; screaming is reduced to background murmur.
Option 2: Full Reconstruction
For new playrooms or major renovations:
- Frame wall: Use 2x4 studs at 24" on center
- Insulate: Fill cavity with mineral wool insulation
- Install MLV: Apply 1 lb MLV to studs before drywall
- Resilient channel: Add resilient channels perpendicular to studs (optional but recommended)
- Double drywall: Two layers of 5/8" drywall with Green Glue between
- Seal everything: Acoustical caulk at all perimeters and penetrations
Result: STC 55-60 achievable—even loud screaming becomes barely perceptible next door.
Cost Comparison
| Approach | Materials/sq ft | Labor Level | STC Gain |
|---|---|---|---|
| MLV + drywall overlay | $4-7 | DIY-friendly | +8-12 |
| Full decoupled wall | $12-20 | Professional | +18-25 |
5Floor Impact Solutions
Running, jumping, and toy crashes create impact noise that travels through floors to rooms below.
Understanding Impact Noise
Impact noise is different from airborne noise:
- Airborne noise: Sound waves traveling through the air (MLV blocks this directly)
- Impact noise: Vibration traveling through building structure (requires decoupling + mass)
For impact noise, MLV alone helps somewhat, but combining MLV with resilient underlayment provides the best results.
Option 1: Rubber Floor Mats
The simplest approach for reducing impact:
- Interlocking rubber mats: 1/2" to 1" thick EVA or rubber tiles over the play area
- Gym flooring: Commercial rubber flooring rated for impact absorption
- Result: Reduces impact noise by 30-50% and protects kids from hard floor falls
Option 2: MLV Underlayment System
For new flooring installation or serious noise control:
- Install rubber underlayment: 5mm or 10mm rubber sound mat over subfloor
- Add MLV layer: 1 lb MLV over the rubber layer
- Install finish flooring: Floating laminate, LVP, or engineered hardwood
Result: IIC (Impact Insulation Class) improvement of 15-25 points. Running and jumping barely audible downstairs.
Option 3: Area Rug Strategy
For renters or those keeping existing floors:
- Large area rugs: Cover 80%+ of the play area
- Dense padding: 1/2" felt or rubber pad underneath (not foam)
- MLV under rugs: Hidden layer provides mass barrier without visible changes
6Ceiling Considerations
If the playroom is below bedrooms or other sensitive spaces, ceiling treatment prevents noise from traveling up.
When Ceiling Treatment Matters
- Bedrooms above: Protect nap time and nighttime sleep from playroom noise
- Home office above: Block distraction during work hours
- Shared walls at ceiling: Some noise travels up walls and across ceiling planes
Ceiling Treatment Options
- Drop ceiling with MLV: Install suspended ceiling grid with MLV laid over acoustic tiles
- Direct application: MLV attached to joists + resilient channels + new drywall
- Acoustic clouds: Suspended absorptive panels that reduce reflection and some transmission
DIY vs. Professional
Ceiling work involves overhead installation of heavy materials. While wall MLV is DIY-friendly, ceiling applications typically require professional installation for safety and proper performance.
7Doors and Windows
The best wall treatment fails if sound leaks through doors and windows.
The Door Problem
Interior doors are typically the weakest acoustic link in any room:
| Door Type | Typical STC | Sound Blocking |
|---|---|---|
| Hollow-core interior | 15-20 | Almost none |
| Solid-core wood | 28-32 | Moderate |
| Solid-core + seals | 35-40 | Good |
| Acoustic door | 45-55 | Excellent |
Door Upgrade Strategy
- Replace hollow-core with solid-core: $150-300 per door, biggest single improvement
- Add weatherstripping: Foam or rubber seals around the door frame
- Install door sweep: Automatic or surface-mounted sweep at the bottom
- Upgrade hinges: Heavier doors may need 3 hinges instead of 2
Window Considerations
If windows are present in the playroom:
- Heavy curtains: Mass-loaded or layered curtains reduce some transmission
- Window plugs: Friction-fit MLV panels for maximum blocking when daylight isn't needed
- Secondary glazing: Adding an interior window panel creates an air gap for significant improvement
8Installation Tips for Playrooms
Playroom installations require special attention to durability and completeness.
MLV Installation Best Practices
- Full coverage: MLV only works where it's installed—partial coverage yields partial results
- Overlap seams: 1-2" overlap with acoustical tape over every seam
- Seal edges: Acoustical caulk where MLV meets floor, ceiling, and perpendicular walls
- Extend to structure: Don't stop MLV at trim lines—extend to actual wall/floor connections
Outlet and Penetration Treatment
- Acoustic putty pads: Install behind all outlet and switch boxes
- Seal penetrations: Use acoustical caulk around any pipes, cables, or vents
- HVAC consideration: Register openings are sound paths—consider acoustic duct liner
Finishing for Durability
Playrooms take abuse. Choose finishes that can handle it:
- Impact-resistant drywall: 5/8" or specialized impact-resistant board
- Washable paint: Semi-gloss or satin finish for easy cleanup
- Wainscoting option: Durable lower wall protection from toy impacts
- Rounded corners: Use corner guards or bullnose drywall for safety
9Child Safety Considerations
Soundproofing a children's space requires attention to safety as well as acoustics.
Material Safety
- Non-toxic MLV: Modern MLV products are phthalate-free and lead-free—verify product specifications
- Low-VOC finishes: Use low-VOC drywall compound, paint, and sealants
- Proper encapsulation: MLV should always be covered with drywall or other finish—never exposed
Fire Safety
- Class A flame spread: Ensure MLV products meet fire safety standards
- Maintain smoke detectors: Test that smoke detectors in adjacent spaces can still be heard in the playroom
- Emergency egress: Don't block or complicate window egress requirements
Ventilation
- Don't seal too well: While sealing gaps improves soundproofing, ensure adequate air circulation
- HVAC access: Maintain proper airflow through supply and return vents
- CO detector: If the playroom is in a basement, ensure proper carbon monoxide detection
12Conclusion
A soundproofed playroom isn't about silencing your children—it's about containing the chaos so kids can play freely while adults maintain sanity (and neighbors maintain peace). The combination of MLV's mass-loading properties with proper sealing and door upgrades can reduce playroom noise transmission by 50-75%, transforming a noise problem into a manageable situation.
Start with the quick wins: door seals, solid-core door replacement, and area rugs with dense padding. If more isolation is needed, add MLV to the shared walls. For serious noise control or sensitive neighbors, consider the full decoupled wall system. The investment in playroom soundproofing pays dividends in household harmony, work-from-home productivity, and neighborhood relations.
FAQs: Kids Playroom Soundproofing
Related Guides in Residential Soundproofing
Continue exploring with these hand-picked articles
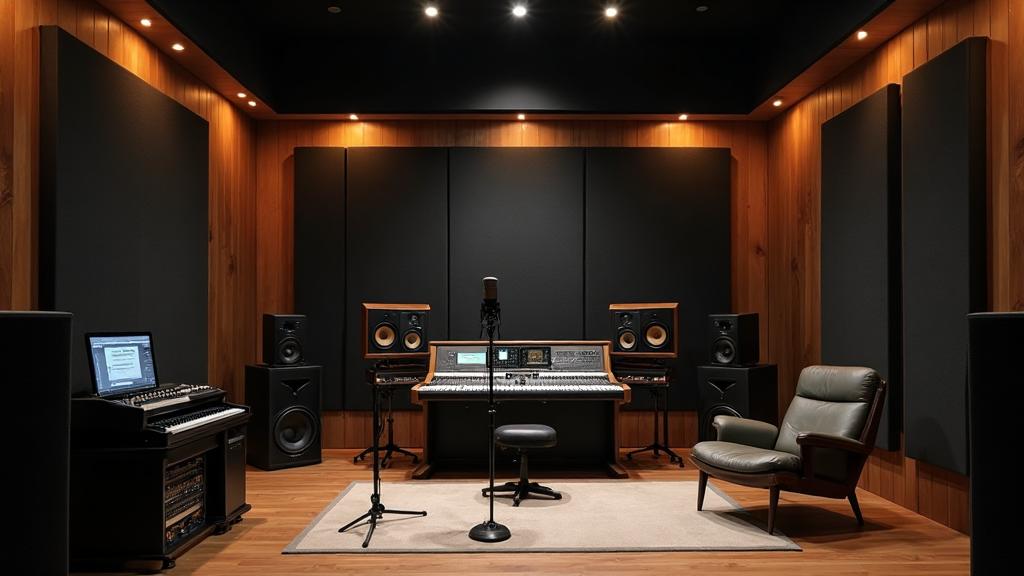
Home Studio Soundproofing with Mass Loaded Vinyl (MLV)
Complete guide to soundproofing your home studio with Mass Loaded Vinyl. Achieve professional-grade STC 55-60 isolation for recording, mixing, and producing without disturbing neighbors or household members.
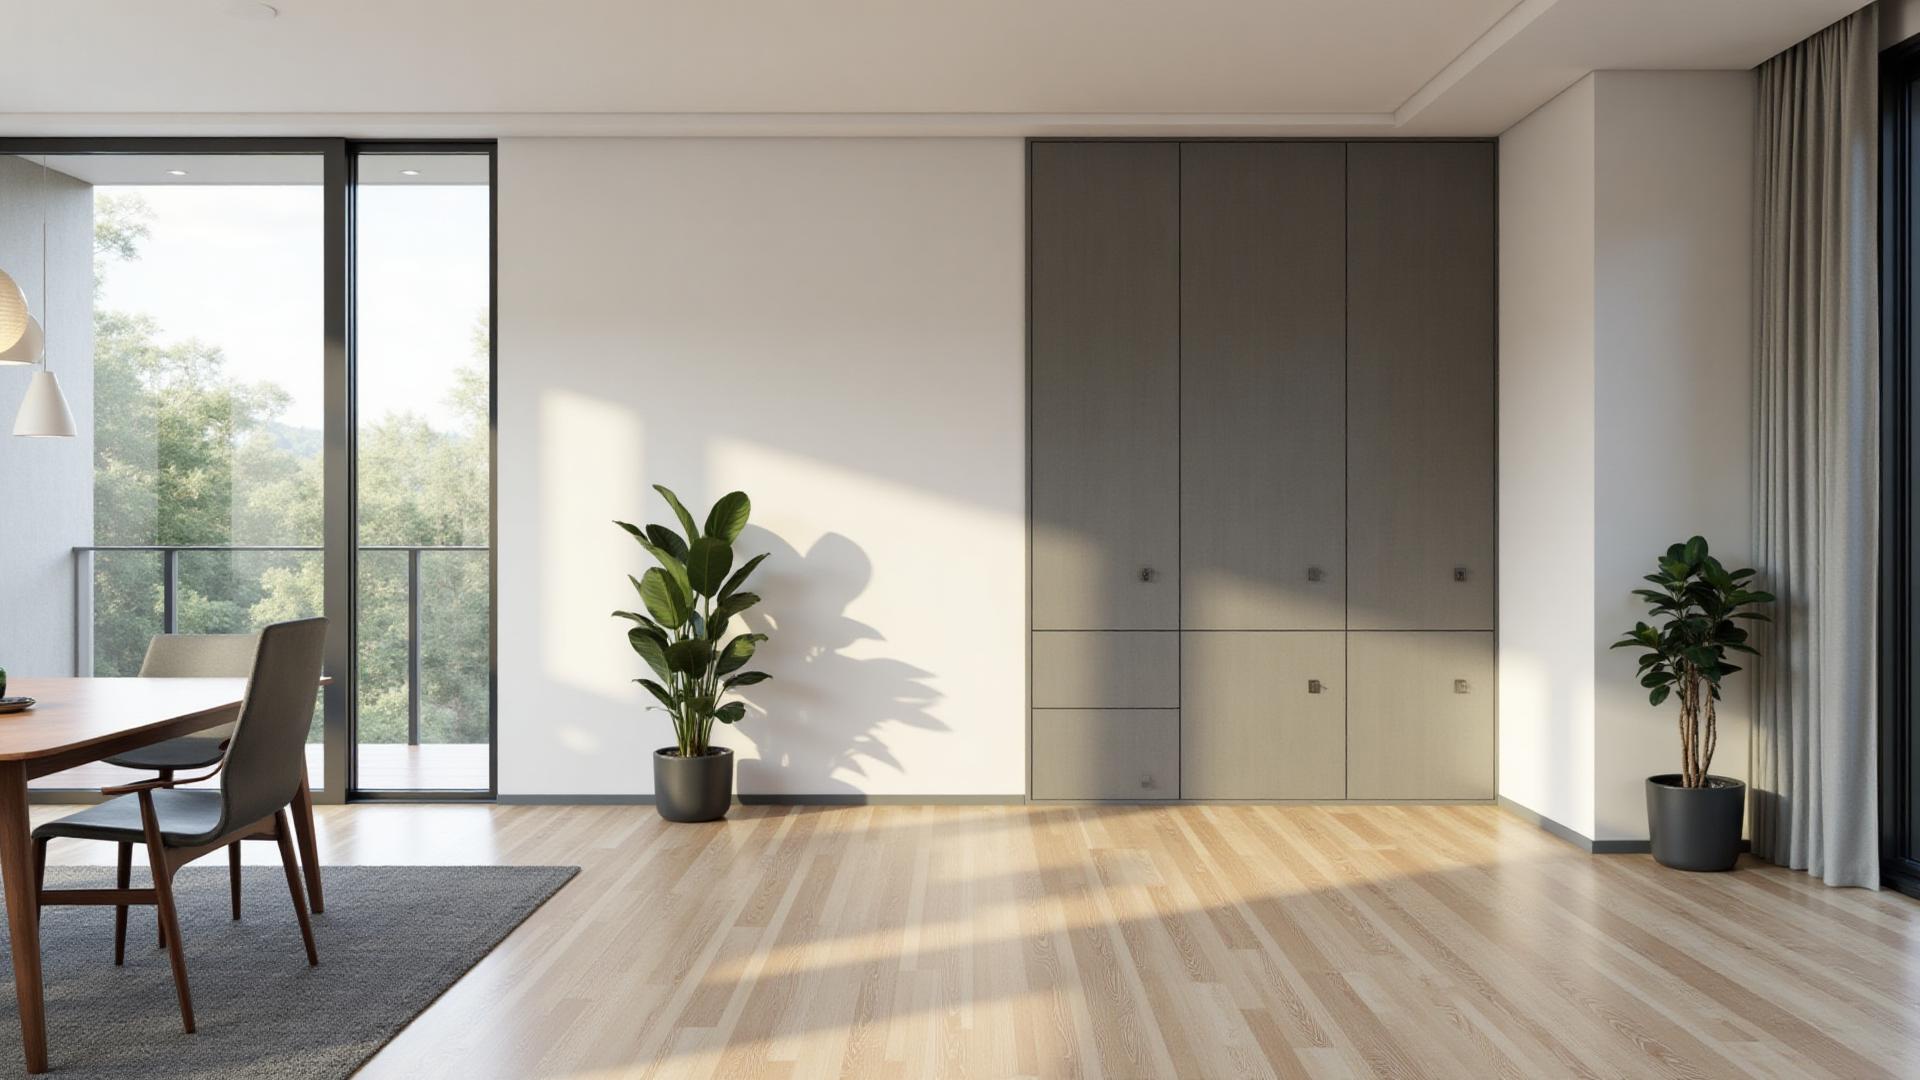
Apartment Soundproofing with Mass Loaded Vinyl (MLV)
Transform your apartment, studio, or loft into a peaceful retreat. Complete guide to using Mass Loaded Vinyl for blocking neighbor noise through walls, ceilings, and floors—solutions for renters and owners.
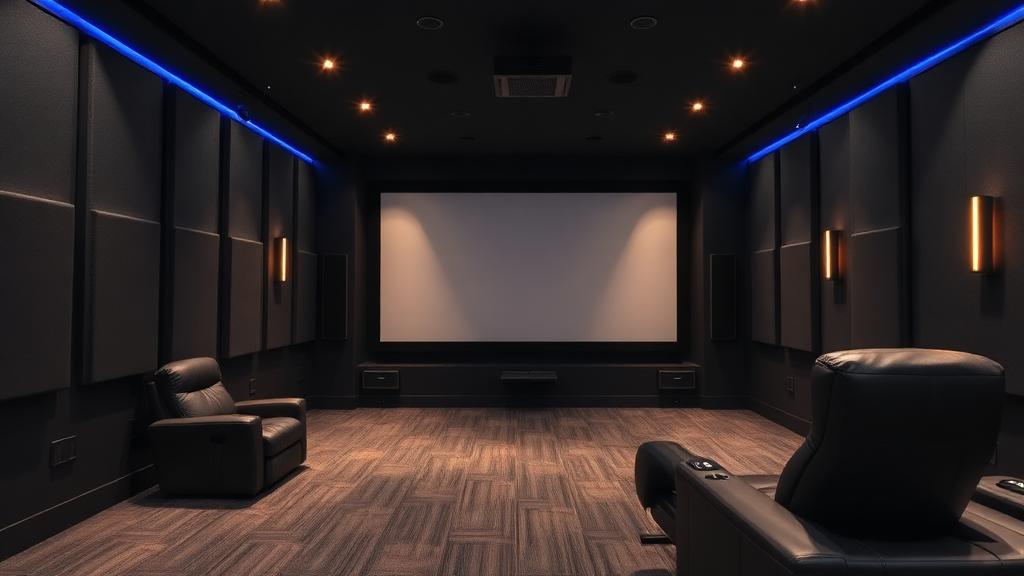
Home Theater Soundproofing with Mass Loaded Vinyl (MLV)
Keep your movie nights from disturbing the rest of the house or neighbors. Complete guide to using Mass Loaded Vinyl for containing loud movies, music, and gaming sound in your dedicated home theater room.
Our Complete Product Line
Professional-grade soundproofing materials for any application

Need Expert Soundproofing Advice?
Our team of soundproofing specialists is here to help you choose the right products and installation methods for your museum or gallery project.