Basement Soundproofing with Mass Loaded Vinyl (MLV)
1The Basement Noise Challenge
Basements present unique soundproofing challenges that differ from standard room acoustics.
Why Basement Sound Travels So Easily
The ceiling is your biggest problem. Floor joists act as direct pathways for vibration:
- Structural connection: Joists are nailed to the main floor, creating rigid sound bridges
- Thin subfloor: Standard 3/4" plywood offers minimal mass
- Open cavities: Joist bays act as resonating chambers that amplify certain frequencies
- HVAC penetrations: Ductwork carries sound directly to every room in the house
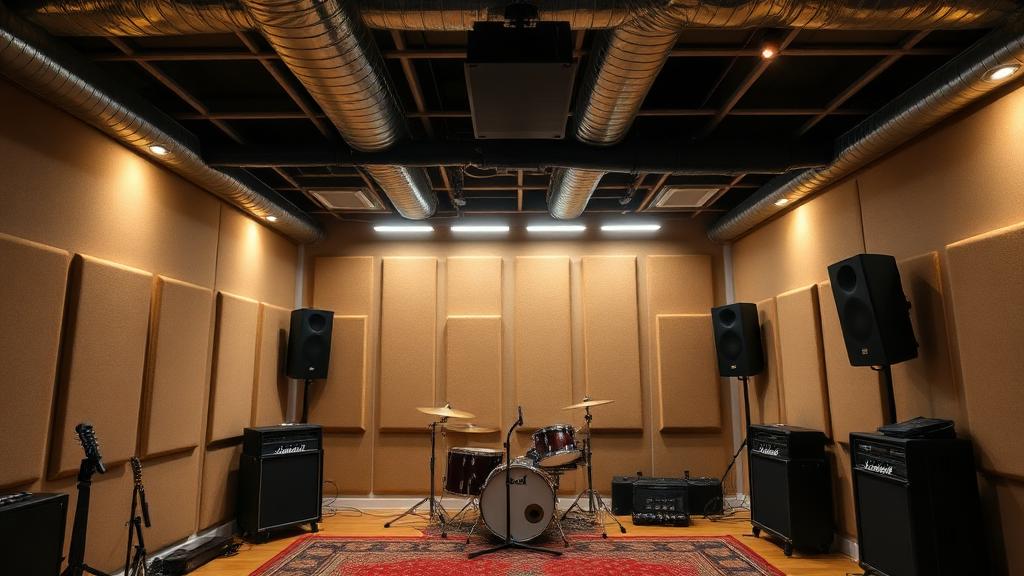
Common Basement Noise Sources
- Band practice: Drums (100-115 dB), amplified instruments, vocals
- Gaming/media: Subwoofers, surround sound, voice chat (70-95 dB)
- Workshops: Power tools, compressors, sanders (85-110 dB)
- Home gym: Dropped weights, treadmills, heavy bag work
- Kids' playroom: Running, jumping, toys (surprisingly loud impact noise)
2Why MLV Works for Basements
MLV addresses the core physics of basement sound transmission.
Mass Law Benefits
Sound transmission loss increases with mass. MLV adds 1-2 lbs per square foot without significant thickness—critical when headroom is already limited in basements.
Limp Mass Behavior
Unlike rigid drywall, MLV doesn't resonate at specific frequencies. This non-resonant behavior prevents the material from amplifying particular tones the way standard building materials can.
Low-Frequency Performance
Bass and impact noise are the hardest to contain. MLV's density makes it particularly effective at blocking low frequencies that easily pass through lightweight assemblies.
| Assembly | 100 Hz | 500 Hz | 1000 Hz | STC |
|---|---|---|---|---|
| Exposed joists + subfloor | 15 dB | 25 dB | 30 dB | ~25 |
| Drywall ceiling | 22 dB | 32 dB | 38 dB | ~35 |
| Drywall + 1 lb MLV | 30 dB | 42 dB | 48 dB | ~45 |
| Decoupled + MLV + double drywall | 38 dB | 52 dB | 58 dB | ~55 |
3Identifying Your Noise Sources
Before designing your soundproofing, understand what you're trying to contain.
Band Practice Requirements
Live drums are among the loudest residential noise sources:
- Kick drum: 100-110 dB with significant low-frequency energy (60-100 Hz)
- Snare: 100-115 dB with sharp transients that penetrate easily
- Cymbals: 90-105 dB with high-frequency content that's easier to block
- Guitar amps: 90-110 dB depending on style and volume
- Bass amps: 90-105 dB with problematic low frequencies
Workshop Noise
- Table saw: 95-105 dB
- Router: 95-110 dB
- Planer: 100-110 dB
- Air compressor: 80-95 dB with vibration that couples to floors
- Sanders: 85-95 dB
Gaming and Media
- Reference level audio: 85 dB with peaks to 105 dB
- Subwoofer bass: Frequencies down to 20 Hz that vibrate structure
- Voice chat: 65-80 dB (adds up during extended sessions)
4Ceiling Soundproofing (Critical)
The ceiling is almost always the primary transmission path. Focus budget and effort here first.
Basic Ceiling Treatment (STC 40-45)
For moderate improvement:
- Fill joist cavities with mineral wool insulation
- Install 1 lb MLV directly to joist faces
- Tape all MLV seams with acoustic tape
- Caulk perimeter with acoustic sealant
- Install 5/8" drywall
Enhanced Ceiling (STC 50-55)
For serious noise containment:
- Mineral wool in all joist bays
- 1 lb MLV on joist faces with sealed seams
- Sound isolation clips attached to joists (not through MLV)
- Hat channel on clips
- 5/8" Type X drywall
- Damping compound (Green Glue)
- Second layer 5/8" drywall
Maximum Isolation (STC 60+)
For band practice with drums:
- Everything above, plus:
- Use 2 lb MLV instead of 1 lb
- Add a third layer of drywall with damping compound
- Consider a completely decoupled ceiling hung from spring hangers
Critical Details
- No rigid contact: Isolation clips or spring hangers must carry the entire ceiling load
- Seal everything: Every gap, penetration, and seam must be airtight
- Recessed lights: Major weak points—use IC-rated sealed fixtures or avoid entirely
5Wall Treatment Options
Basement walls vary significantly based on construction type.
Concrete/Block Walls
Good news: concrete provides excellent mass. Focus on:
- Sealing any cracks or gaps with acoustic caulk
- Adding MLV only if building out framed walls for other reasons
- Treating the rim joist area (often overlooked weak point)
Framed Walls Against Concrete
If you're building out finished walls:
- Leave an air gap between framing and concrete (don't attach directly)
- Fill cavities with mineral wool
- Add MLV to stud faces
- Finish with drywall
Partition Walls
Walls that divide basement spaces or create the stairwell enclosure:
- Treat these like any interior wall that needs soundproofing
- MLV + insulation + sealed drywall
- Pay special attention to the stairwell wall
Rim Joist Treatment
The rim joist area is often the biggest overlooked weakness:
- Seal the rim joist cavity with spray foam or rigid foam
- Cover with MLV
- Ensure continuity with ceiling treatment
6Floor Considerations
Basement floors sit on concrete, which helps—but creates other challenges.
Impact Noise Sources
If your basement activity creates impact noise (drums, jumping, dropped weights):
- Drum riser: Build a floating platform on rubber isolators or tennis balls
- Gym flooring: Thick rubber mats (3/4" minimum) absorb impact
- Workshop: Vibrating tools on rubber isolation pads
Decoupled Flooring
For maximum isolation from floor vibration:
- Rubber underlayment directly on concrete
- MLV layer
- Plywood subfloor
- Finished flooring or carpet
Subwoofer Isolation
Subwoofers on concrete floors transmit bass through the foundation:
- Use commercial isolation platforms (SubDude, Auralex)
- DIY: Concrete paver on 2" dense foam
- Never place subs directly on the floor
7HVAC and Ductwork
Ductwork is a major sound transmission path that many people overlook.
The Problem
Supply and return ducts act as speaking tubes between floors. Sound enters the duct in the basement and exits at every register in the house.
Solutions
- Duct lining: Line the first 6-10 feet of duct leaving the basement with MLV or acoustic duct liner
- Silencer boxes: Install inline silencers on supply and return runs
- Flexible duct: Use flex duct for the first section to break rigid transmission paths
- Register treatment: Acoustic register covers for basement openings during use
Return Air Paths
Return ducts are often the worst culprits:
- Large return grilles are essentially holes in your ceiling
- Consider a dedicated return for the basement that doesn't connect to the main house
- At minimum, line return ducts heavily with acoustic material
8Stairwell and Door Isolation
The stairwell is a direct acoustic path to the main living area.
Stairwell Enclosure
If not already enclosed, build walls around the stairwell:
- Standard stud wall construction
- Mineral wool insulation
- MLV on stud faces
- Sealed drywall
Basement Door Requirements
The door at the top of the stairs is critical:
- Solid core: 1-3/4" solid wood or MDF core minimum (STC 30-35)
- Acoustic door: For serious applications, use a purpose-built sound door (STC 45-55)
- Door sweep: Automatic drop seal at the bottom
- Weatherstripping: Full perimeter seals on all four sides
Double Door Option
For maximum isolation (band practice with drums):
- Create a small vestibule at the top of the stairs
- Install two solid core doors with an air gap between
- This simple addition can add 15-20 STC points
Stair Treatment
The underside of the stairs often has open risers or minimal covering:
- Enclose the underside completely
- Add MLV and drywall to the underside
- Seal all gaps where stairs meet walls
9STC Targets by Activity
Set realistic goals based on your specific use case.
| Activity | Typical dB | Target STC | Result |
|---|---|---|---|
| Gaming/media (moderate) | 75-85 dB | STC 45 | Faint sound upstairs |
| Gaming/media (loud) | 85-95 dB | STC 50-55 | Minimal disturbance |
| Workshop (power tools) | 95-105 dB | STC 55 | Noticeable but acceptable |
| Band practice (no drums) | 95-105 dB | STC 55-60 | Contained to background |
| Band practice (with drums) | 105-115 dB | STC 60+ | Requires serious investment |
Budget Reality
Each 5 STC points roughly doubles cost. For band practice with drums, expect to invest $3,000-8,000+ in ceiling treatment alone for a typical basement.
Compromise Strategies
- Focus entirely on the ceiling if that's the main transmission path
- Use electronic drums with practice amps for dramatic noise reduction at the source
- Schedule loud activities when family members are away
- Combine soundproofing with source control
11Conclusion
A properly soundproofed basement gives you the freedom to pursue loud hobbies without disturbing the rest of the household. Whether you're building a band practice space, gaming cave, or workshop, Mass Loaded Vinyl is the foundation of effective noise containment.
Focus your investment on the ceiling first—that's where most sound escapes. Treat the stairwell enclosure and door as the second priority, then address HVAC transmission paths. The result is a dedicated space where you can turn up the volume, fire up the power tools, or play drums at midnight without complaints from upstairs.
FAQs: Basement Soundproofing MLV
Related Guides in Residential Soundproofing
Continue exploring with these hand-picked articles
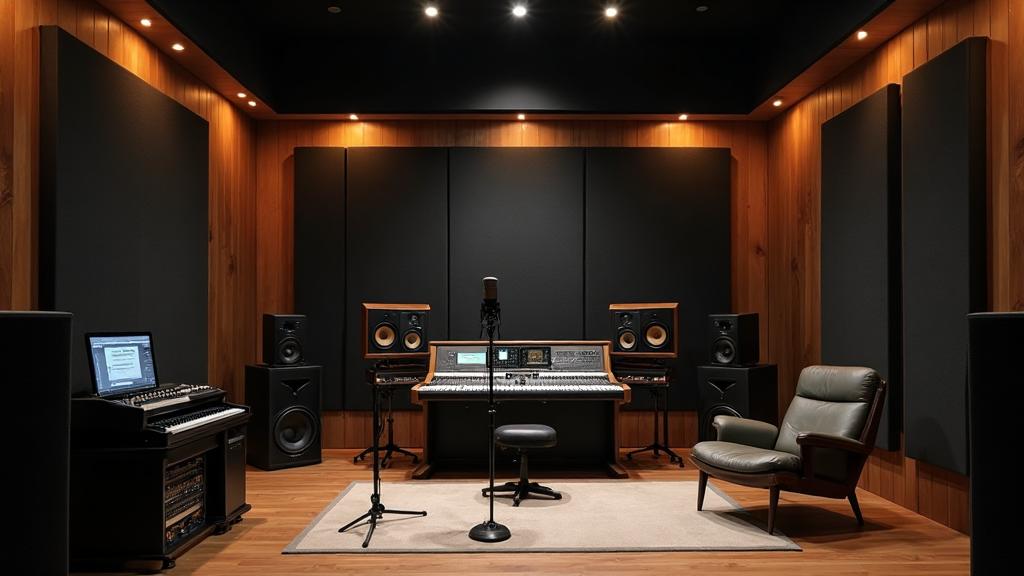
Home Studio Soundproofing with Mass Loaded Vinyl (MLV)
Complete guide to soundproofing your home studio with Mass Loaded Vinyl. Achieve professional-grade STC 55-60 isolation for recording, mixing, and producing without disturbing neighbors or household members.
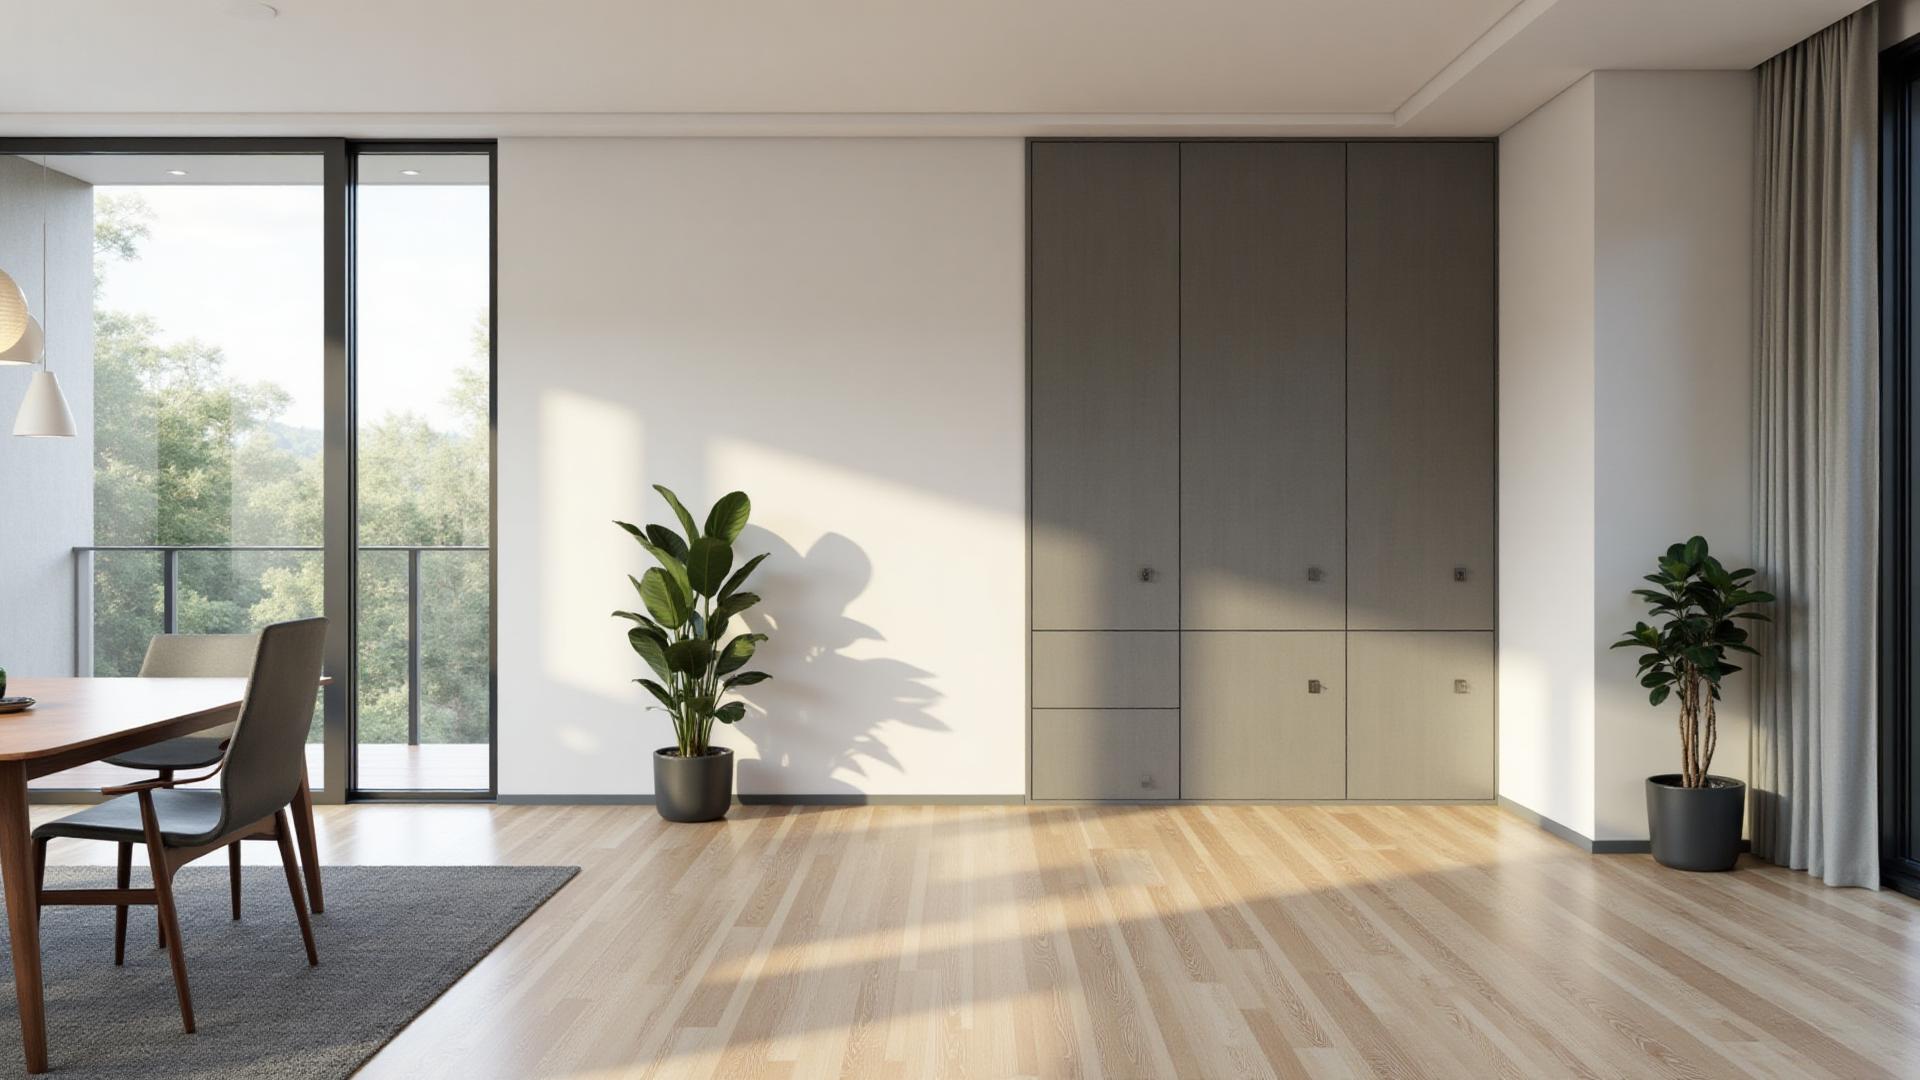
Apartment Soundproofing with Mass Loaded Vinyl (MLV)
Transform your apartment, studio, or loft into a peaceful retreat. Complete guide to using Mass Loaded Vinyl for blocking neighbor noise through walls, ceilings, and floors—solutions for renters and owners.
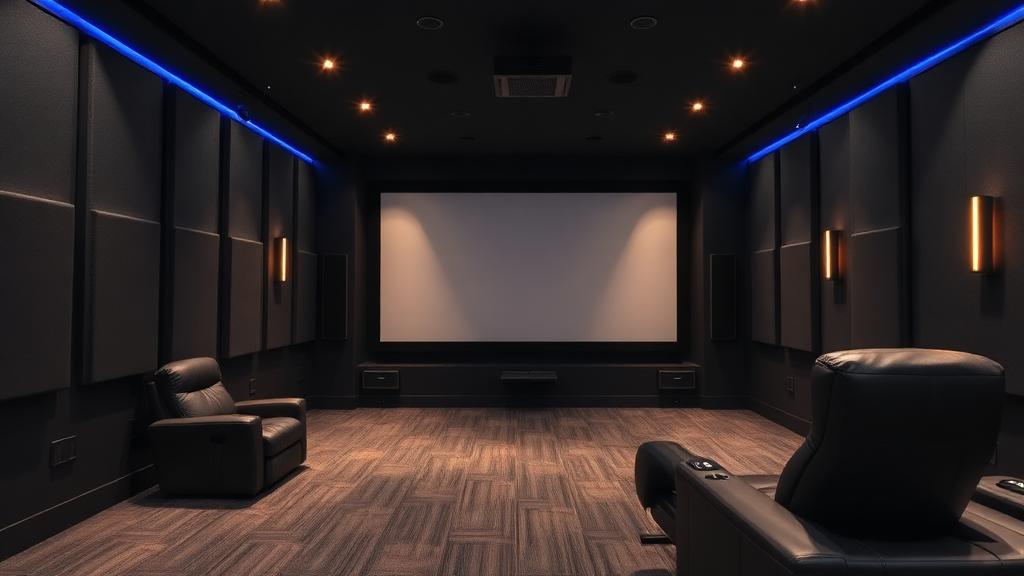
Home Theater Soundproofing with Mass Loaded Vinyl (MLV)
Keep your movie nights from disturbing the rest of the house or neighbors. Complete guide to using Mass Loaded Vinyl for containing loud movies, music, and gaming sound in your dedicated home theater room.
Our Complete Product Line
Professional-grade soundproofing materials for any application

Need Expert Soundproofing Advice?
Our team of soundproofing specialists is here to help you choose the right products and installation methods for your museum or gallery project.